Enable Networks
Esta página aún no está disponible en tu idioma.
With MAX, in-app bidding networks have direct relationships with you. Networks pay you based on their payment windows and their final numbers. If you have payment-related questions, work directly with your network partner to resolve them.
If you are new to monetization and you need help to configure your networks, read the Mediated Network Guides.
To enable a network, the following must be true:
- You successfully integrated the network’s SDK.
- You connected the network to MAX.
To activate networks for one of your ad units within MAX:
-
Navigate to the Ad Units page.
-
Select the ad unit.
-
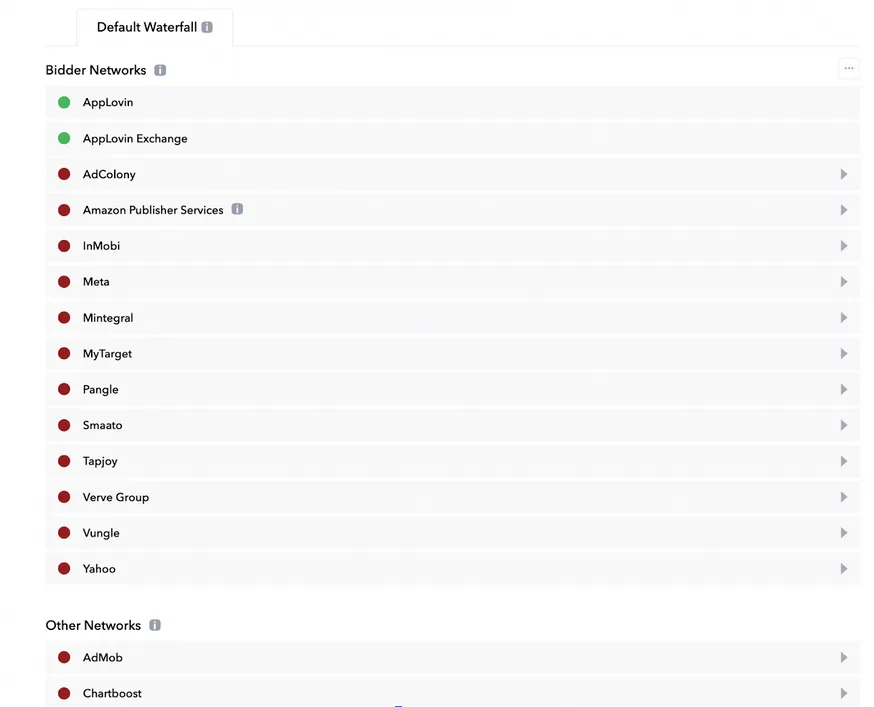
Scroll down to the Default Waterfall, which includes all supported networks.
-
Take the following steps, depending on the network variety:
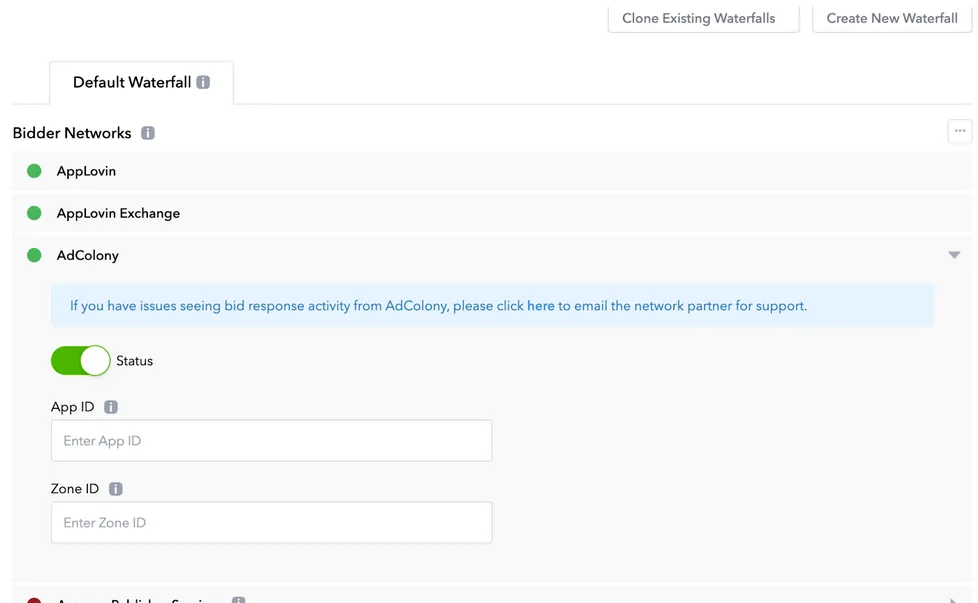
Bidder Networks: To activate a bidder network, first click the arrow drop-down to the right of the network name. This expands the section for that network. Add your network IDs and click the Status toggle to turn the network on. (AppLovin demand is enabled by default and no other actions are required to receive its ads.)
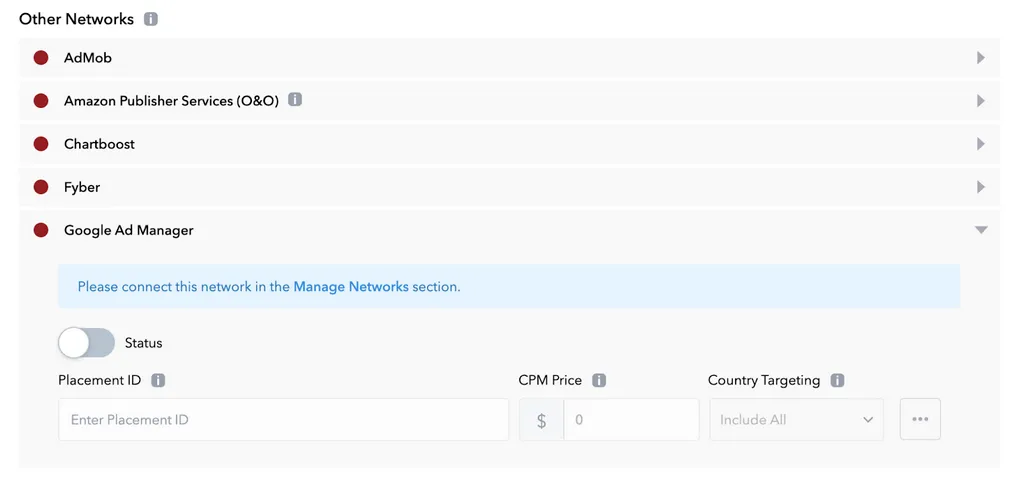
Other Networks: To activate one of the other networks, first click the arrow drop-down to the right of the network name. This expands the section for that network. Add your network IDs, CPM Price (this should mirror the price floor that you set with the network and associated with the network ID), and Country Targeting if applicable. If you have multiple network IDs, click Add a New Ad Unit ID to repeat the process.
- Auto-CPM: After you connect your network, auto-CPM activates within a day or two to sync with the actual eCPM the network pays you.
Custom Networks: If you have not done so already, create your custom network on the Networks tab. Your network then shows up in the relevant format’s waterfall. You can turn on the network by clicking the drop-down arrow to the right of the network name and moving the Status toggle to the on position.
Direct Sold Campaigns: To enable this feature, contact your account team or the support team for assistance. Then follow the instructions on the Direct Sold page to set up a campaign.
App ID Validation
In order for a network to be a part of an ad unit’s waterfall, you must configure that network within the ad unit.
In the ad unit edit page, you see a list of all available networks for the format and platform associated with that ad unit.
Click on a network name to open the dropdown for that network.
That dropdown contains a toggle that you switch to enable the network, and fields in which you type network IDs that are necessary for you to integrate the network:
For non-bidding networks you also see fields for geo and CPM settings:
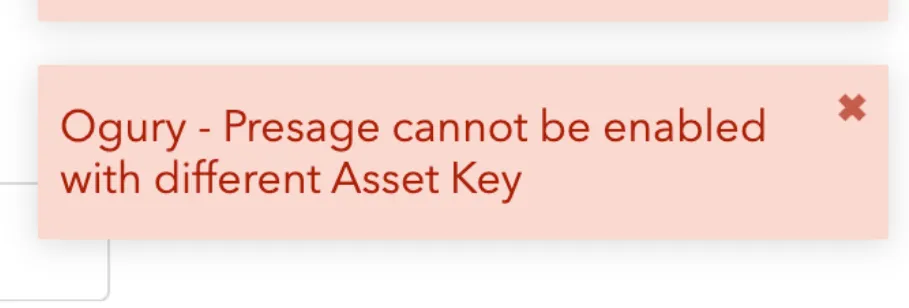
For networks within the same ad unit, both in the same waterfall and intra-waterfall, AppLovin verifies that app-level network IDs are consistent throughout. This prevents initialization problems. If there is an app ID mismatch for a network, you cannot save the ad unit and you see an error with the network, for example: