Connect Networks
Esta página aún no está disponible en tu idioma.
To activate networks in your ad unit waterfall, first connect them to MAX. This aligns MAX estimated stats with network-reported revenue numbers, which powers in-app bidding and auto-CPM. It’s important that you connect your networks and enable auto-CPM so that the competition between your networks is accurate and automated.
After you connect your networks on the Manage Networks page, enable them within the waterfalls of your ad units.
Supported Networks
Select Mediation > Manage > Networks in your AppLovin dashboard. Then connect all the networks that you want to mediate.
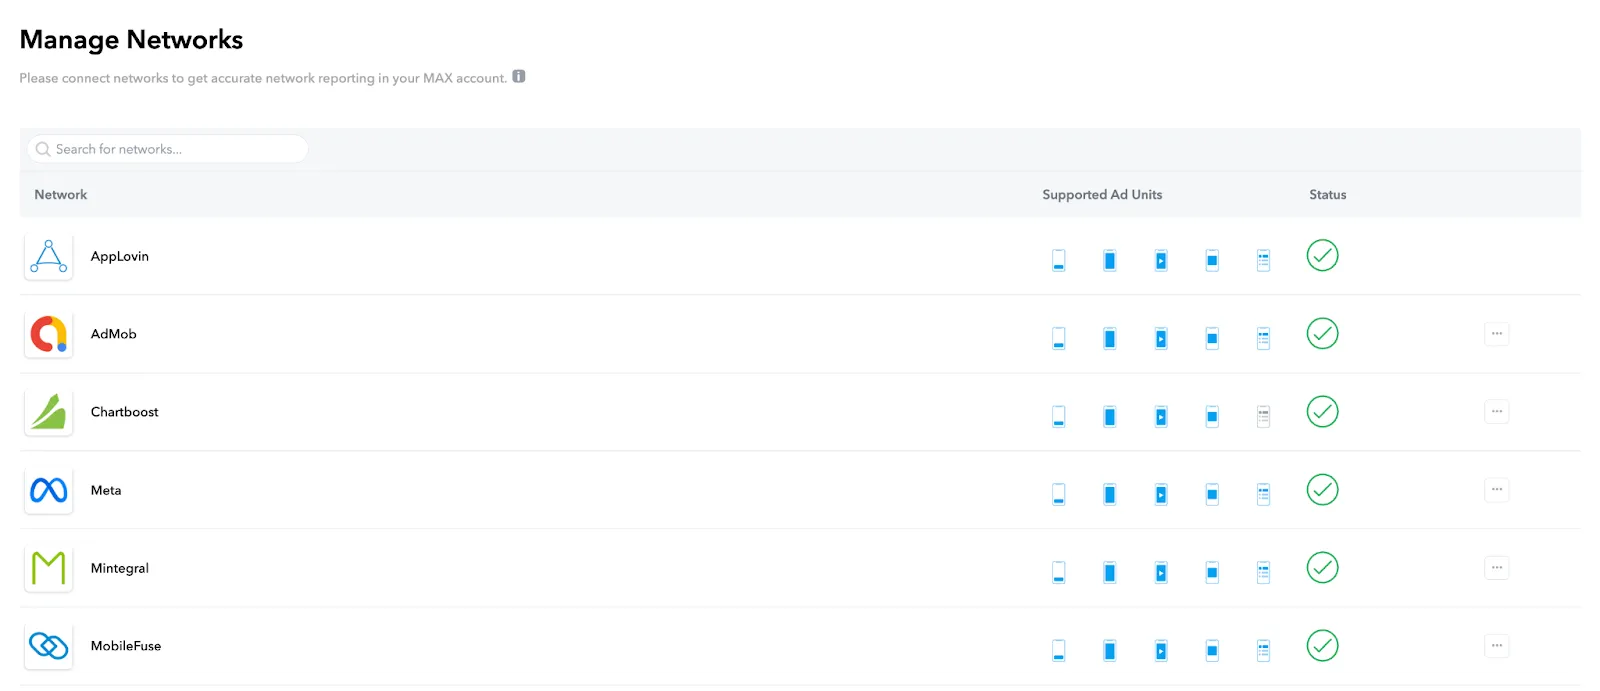
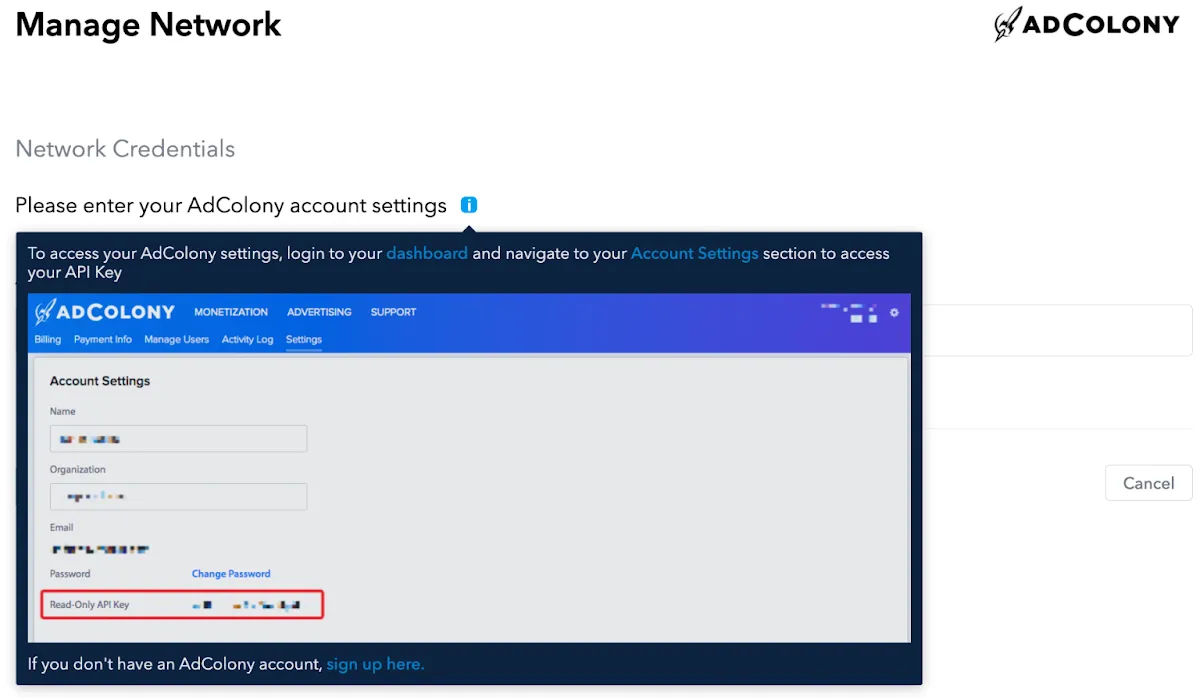
When you click the Connect button in the row representing a network that you want to connect, a Manage Network page for that network appears. Click the grey ⓘ button on that page to view integration instructions for that network.
If you need to add multiple instances of a network to MAX, scroll to the bottom of the Manage Networks page and click Click here to add another instance of an existing network for reporting.
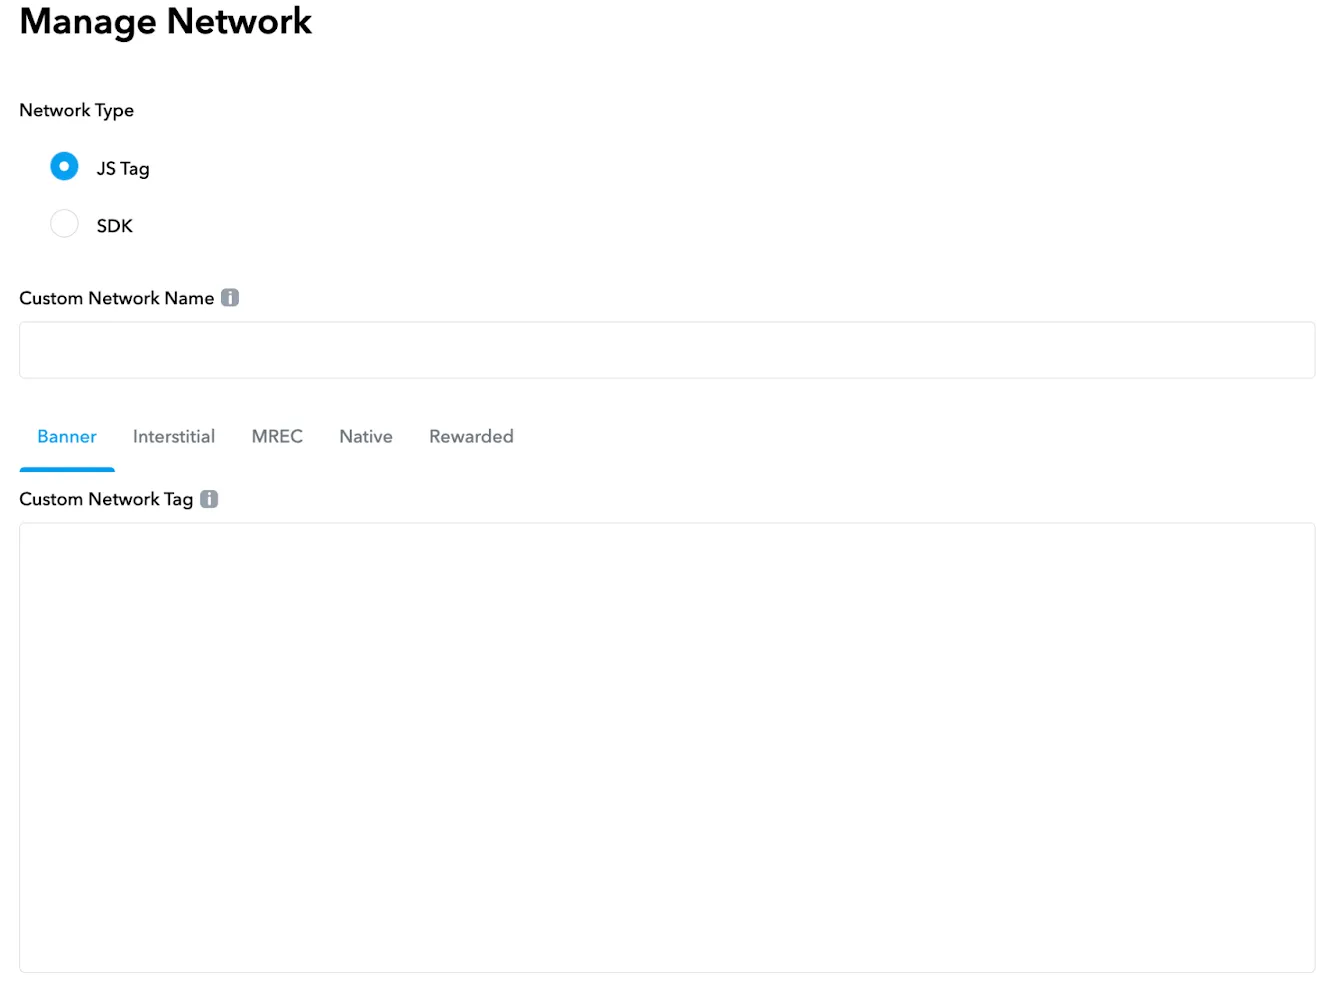
Custom Networks
If you have a custom SDK network, scroll to the bottom of the Manage Networks page and click Click here to add a Custom Network. Then toggle to your desired ad format and add your network tag or adapter class name to complete the setup. Custom networks are not eligible for in-app bidding or for auto-CPM.