Traditionally Mediated Network Guides
Esta página aún no está disponible en tu idioma.
This page shows you how you integrate a variety of SDK bidder networks as ad networks on the MAX mediation platform.
Before you start:
- Correctly integrate the supported MAX ad formats into your application.
- Add the adapters for the networks you intend to integrate by following the instructions in the Preparing Mediated Networks page for your platform.
After you complete this integration, you can validate it by using the Mediation Debugger.
Chartboost
Step 1. Create a Chartboost Account
To enable Chartboost ad inventory through MAX Mediation platform, you must have an approved account with Chartboost. If you do not have an account, sign up at the Chartboost site. Then begin by using Chartboost’s onboarding guide.
If you have already created an app with ad units, skip to Step 3 and activate Chartboost in your MAX ad units.
Step 2. Create an Application and a Campaign in Chartboost
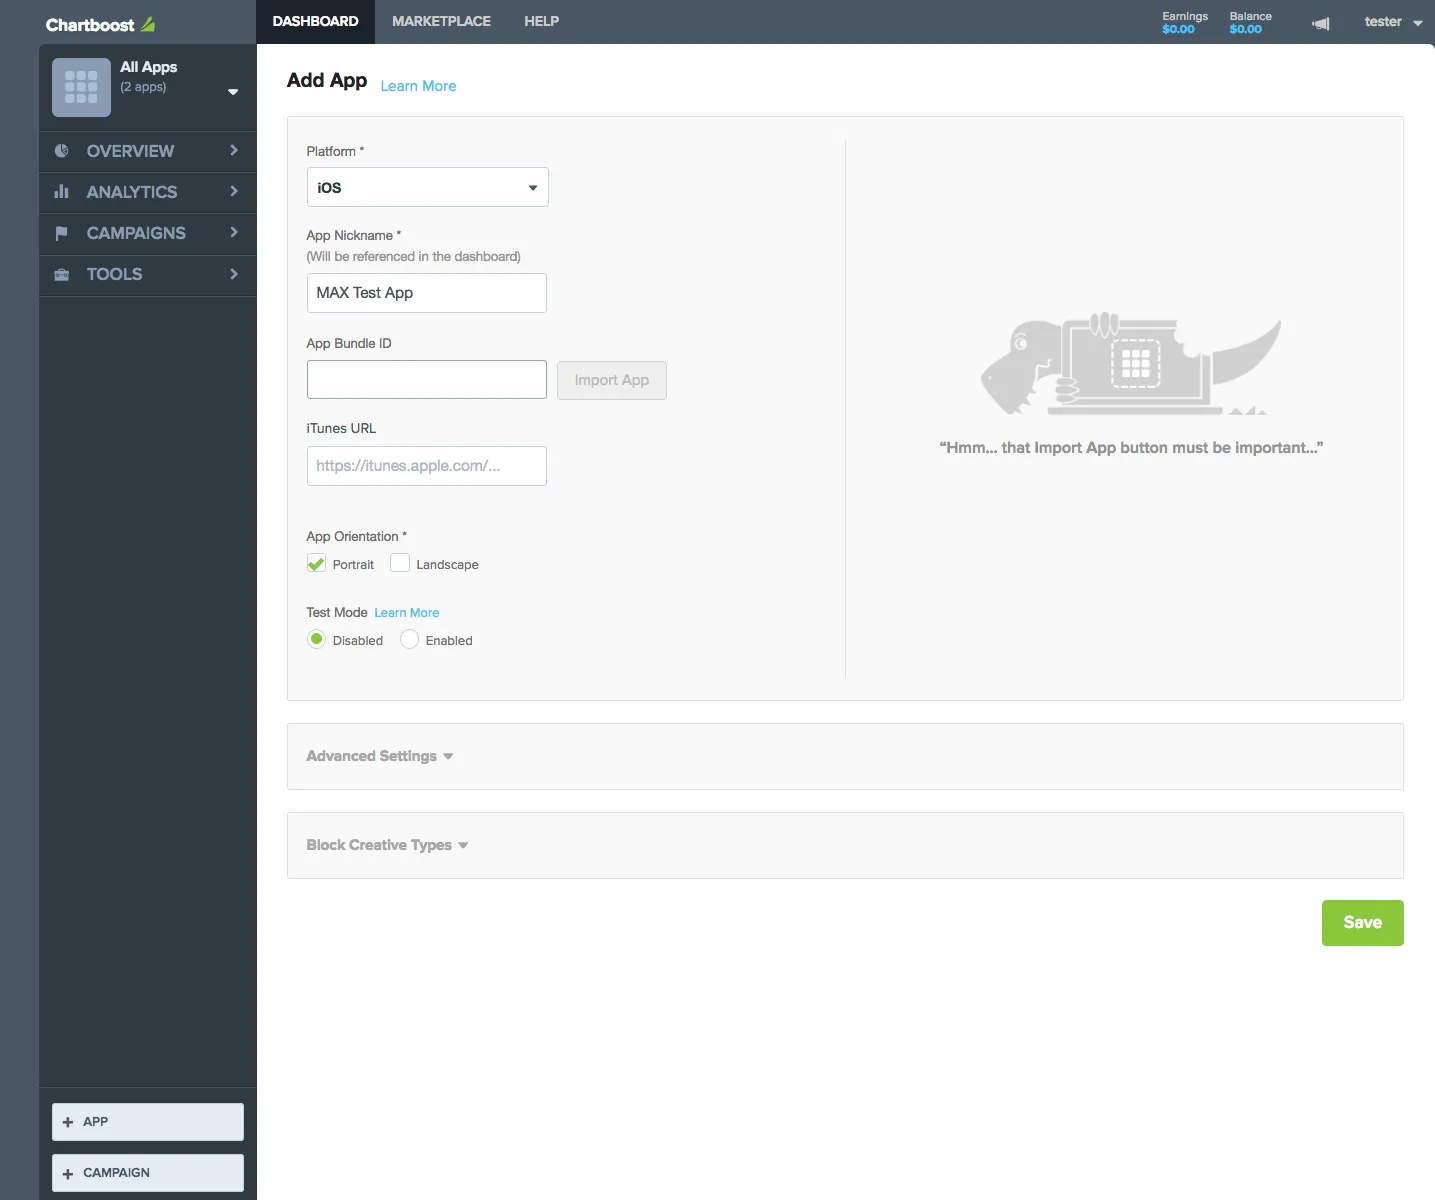
Add Your App
To start monetizing your app with Chartboost, create an app.
- Log in to Chartboost.
- Select DASHBOARD > APP SETTINGS.
- Click + APP.
- In the Add App screen, type your app’s bundle ID or ASIN in the App Bundle ID field. (If your app is not live yet, leave this blank. You can integrate the Chartboost SDK and run tests, then you can add this bundle ID later.)
- Check one of the checkboxes to indicate your app’s orientation. If your app is in both portrait and landscape orientation, check whichever is the default orientation.
- Click Save.
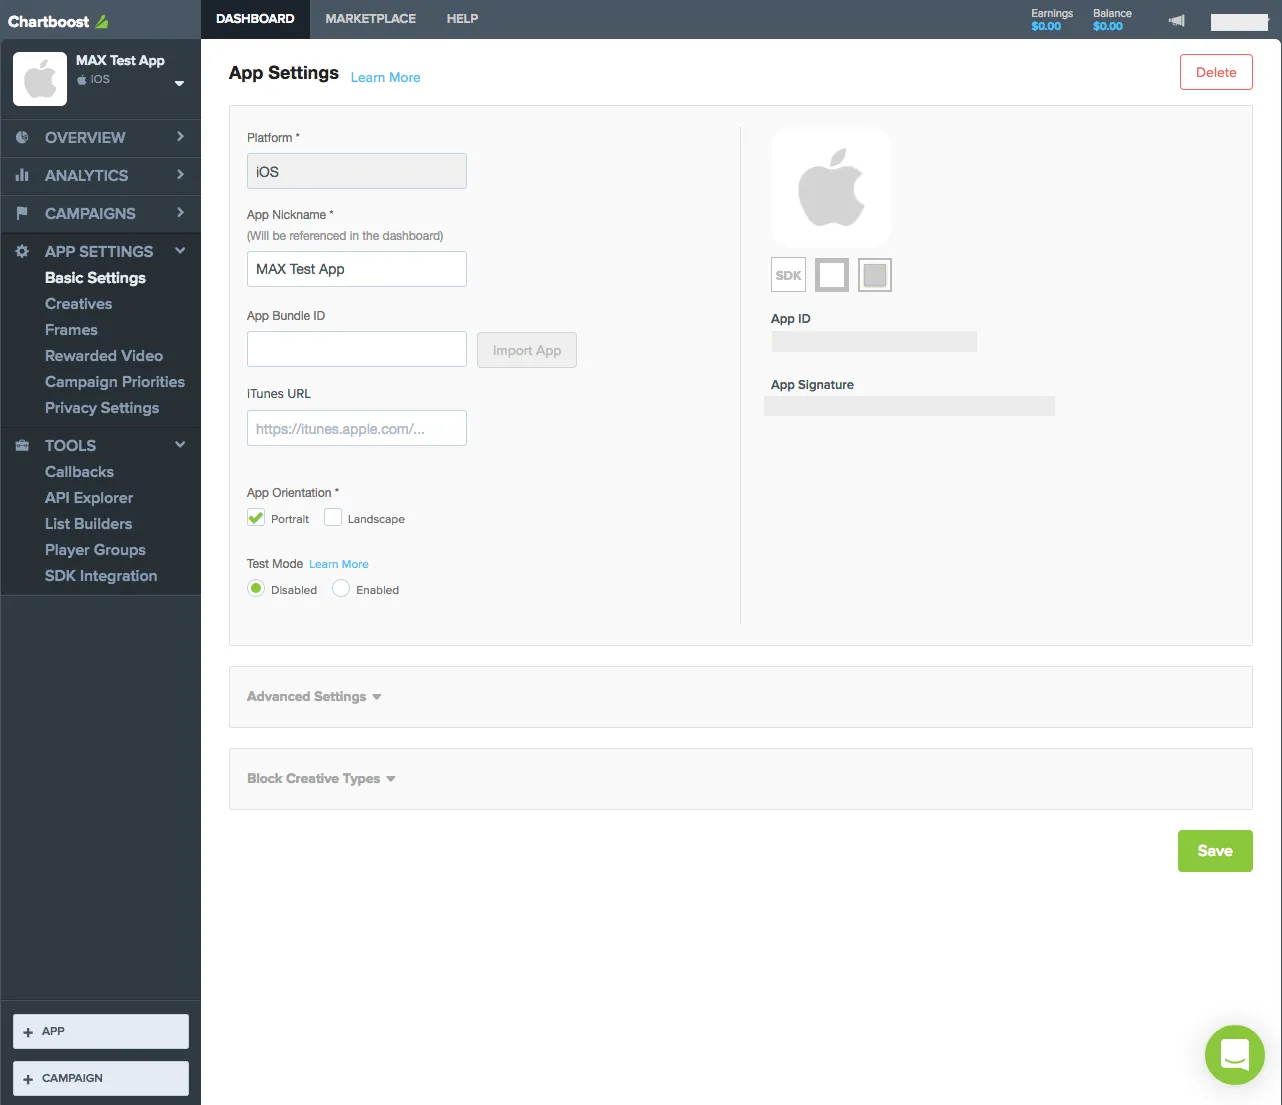
When you save your app, Chartboost generates and displays your app’s App ID and App Signature. You need these keys to request ads when you enable Chartboost in MAX Mediation. You can retrieve these keys by logging in to your Chartboost account and selecting DASHBOARD > APP SETTINGS > Basic Settings.
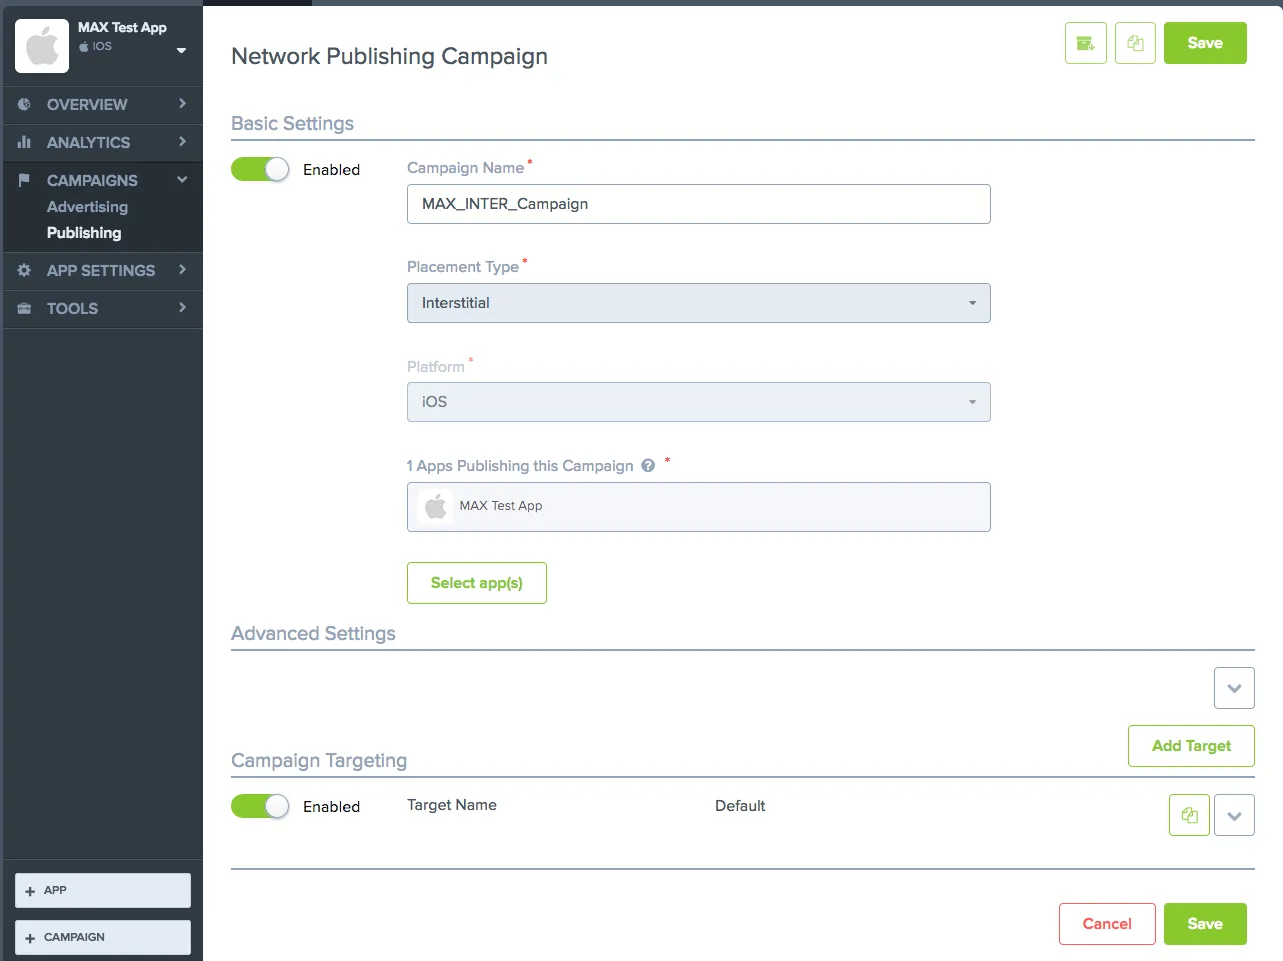
Start a New Campaign
After you create an app, start a new campaign. This enables Chartboost demand.
- Log in to your Chartboost dashboard.
- Click + CAMPAIGN.
- Select Network Publishing. The Network Publishing Campaign screen appears.
- Type a name for your publishing campaign, select which placement type your campaign will use, and choose its platform. For each ad format, create a seperate network publishing campaign.
- Choose the app and click Save.
Set up your payment details at Chartboost to enable payments by means of your preferred payment method. You must establish your payment details in order to receive fill from Chartboost.
Step 3. Enable Chartboost in Your MAX Account
- When you complete your Chartboost setup, log in to your MAX account.
- Select MAX > Manage > Ad Units.
- Click the MAX ad unit placement on which you want to enable Chartboost.
- Type the Chartboost App ID and App Signature values associated with the MAX ad unit you selected. If you have Ad Location values provided by Chartboost, you can also save them in your MAX ad unit configuration page.
- Click the Status bar to activate the network.
- Click ✓ Save. This enables Chartboost in the participating networks list for this ad unit.
CSJ
Step 1. Create a CSJ Account
To enable CSJ ad inventory through MAX Mediation platform, you must have an approved monetization account with CSJ. If you do not have an account, sign up here.
If you already have ad units created in your CSJ dashboard, skip to Step 3 and activate CSJ in your MAX ad units.
Step 2. Create an Application and Placements in CSJ
Add Your App
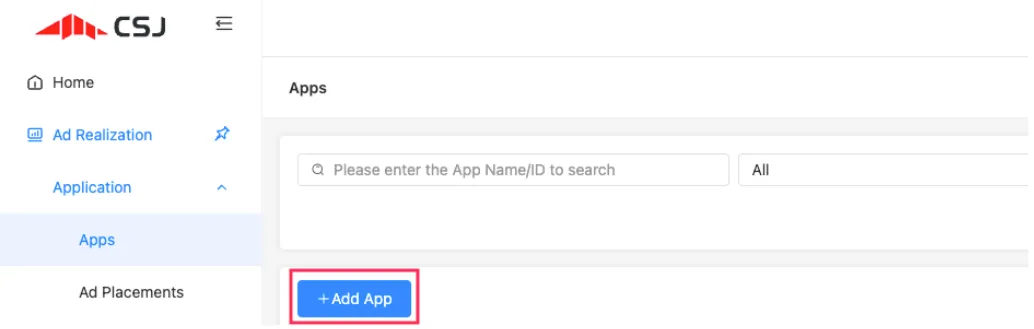
To start monetizing your app with CSJ, add your app in the CSJ dashboard.
- Log in to the CSJ dashboard.
- Select Ad Realization > Application > Apps.
- Click + Add App.
- In the Add App form, enter the information about your application.
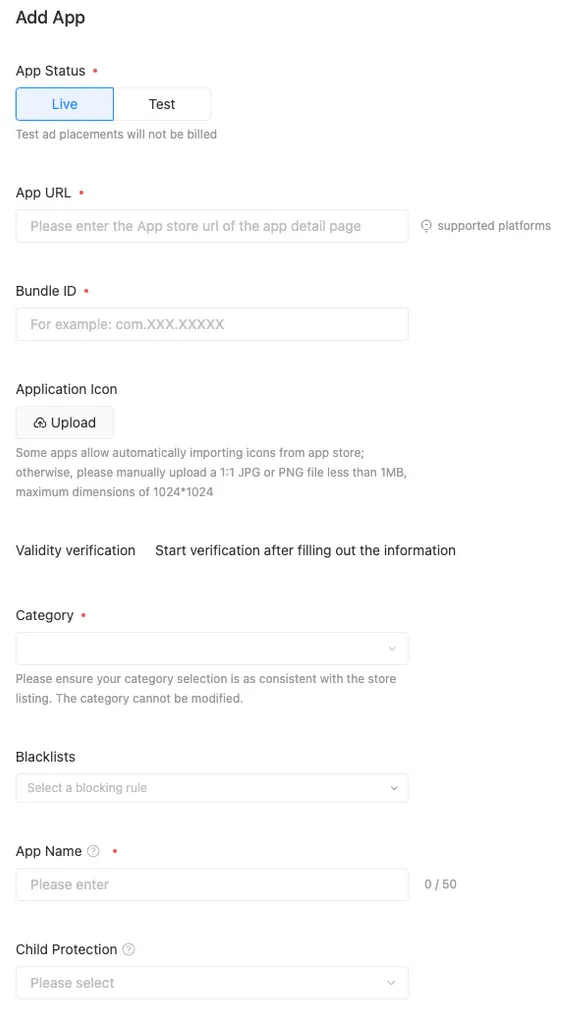
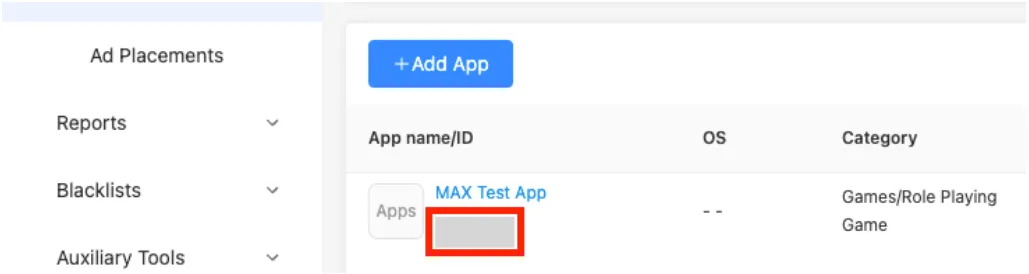
After you save the app, you will see a listing for the app with its app ID.
Create an Ad Placement
- Select Ad Realization > Application > Ad Placements.
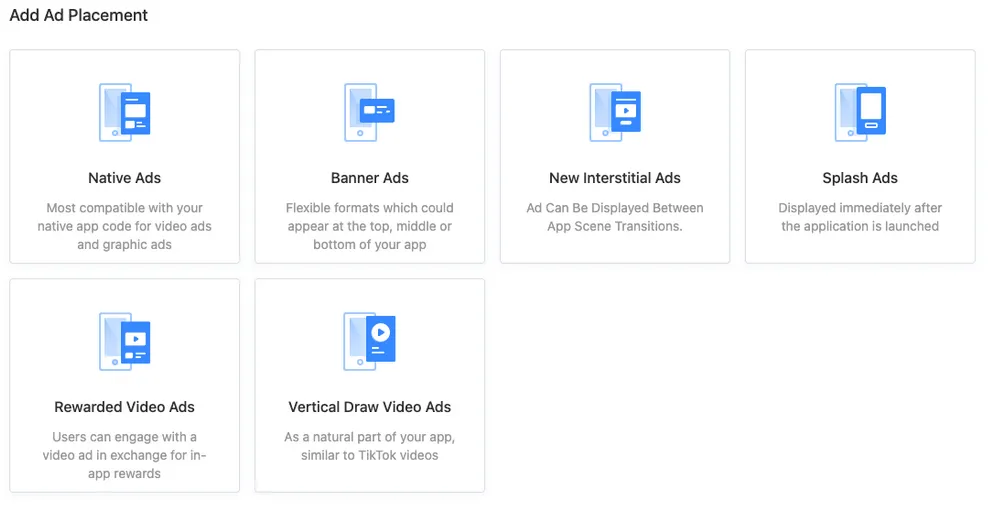
- Click + Add Ad Placements.
- In the Add Ad Placement selector, choose an ad format for your app.
Enter the requested information.

- Click Submit to save the placement.
Your placement will appear in a list of ad placements.
Make note of the placement ID.
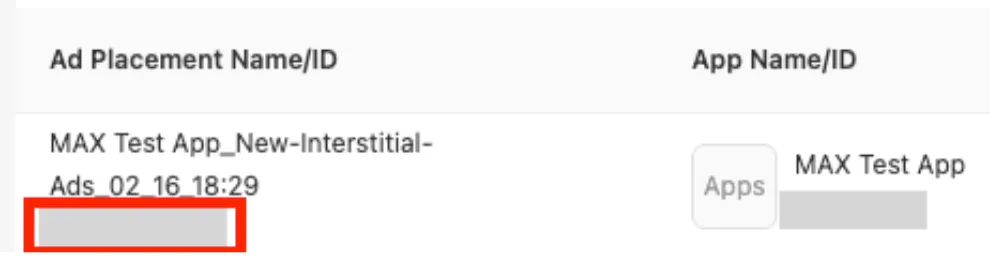
To enable CSJ in MAX Mediation, you need your CSJ app ID and the ad placement IDs associated with the app you created. You can find the app ID in the Apps section of the CSJ dashboard. You can find the ad placement IDs in the Ad Placements section.
Establish your payment details in the Account Information section. You must establish your payment details in order to receive a fill from CSJ.
Step 3. Enable CSJ in Your MAX Account
- Log into your MAX account.
- Select MAX > Manage > Ad Units.
- Click the MAX ad unit placement on which you want to enable CSJ.
- Type the CSJ app ID and ad placement IDs associated with the MAX ad unit you selected.
- Click the Status bar to activate the network.
- Click ✓ Save. This enables CSJ in the participating networks list for this ad unit.
Google AdMob
Step 1. Create a Google AdMob Account
To access Google AdMob ad inventory through MAX Mediation platform, you must have a valid account with Google AdMob. If you do not have an account, sign up at the Google AdMob site.
If you already have a Google AdMob account, skip to Step 3 and activate Google AdMob in your MAX ad units. AppLovin recommends that you create new placement IDs, as this improves the accuracy of what MAX reports.
Step 2. Create an Application and Ad Units in Google AdMob
Add Your App
-
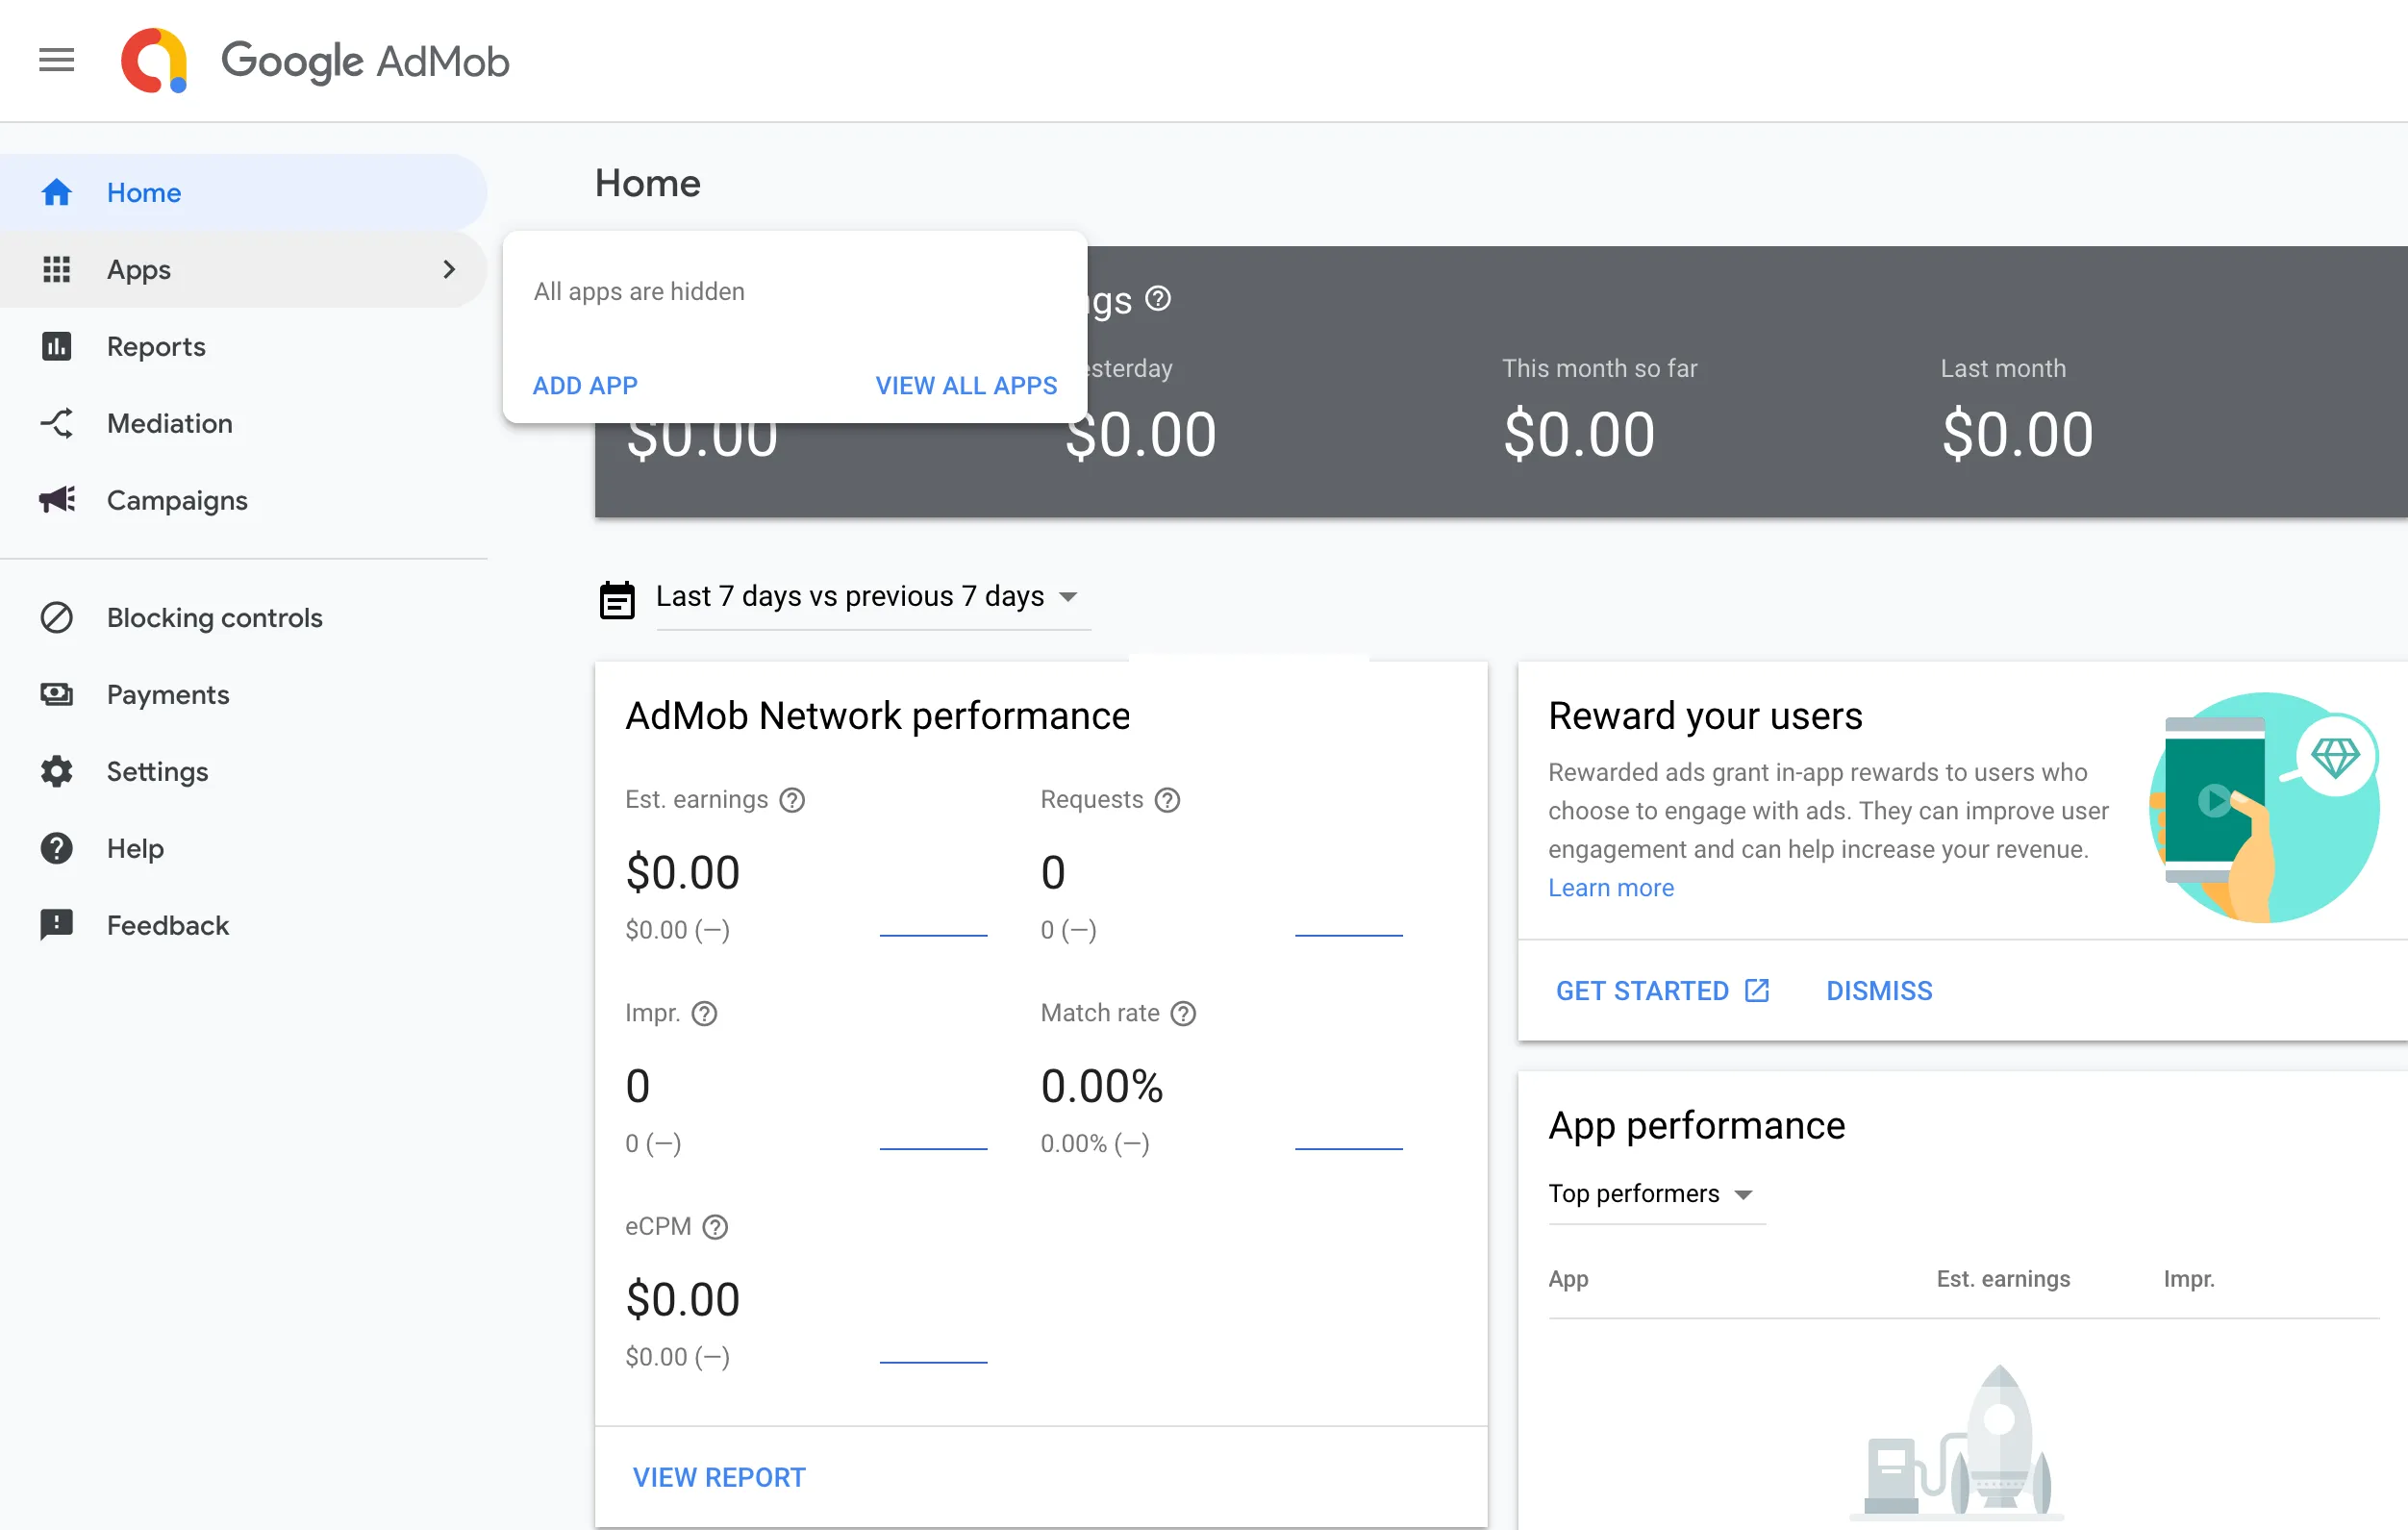
Log into your Google AdMob account.
-
Click the Apps button in the left navigation bar.
-
To monetize using MAX Mediation, you have three choices:
- Search for an existing app.
- Add a new app.
- Select an existing app.
You must create a unique Google AdMob application per platform (iOS and Android).
-
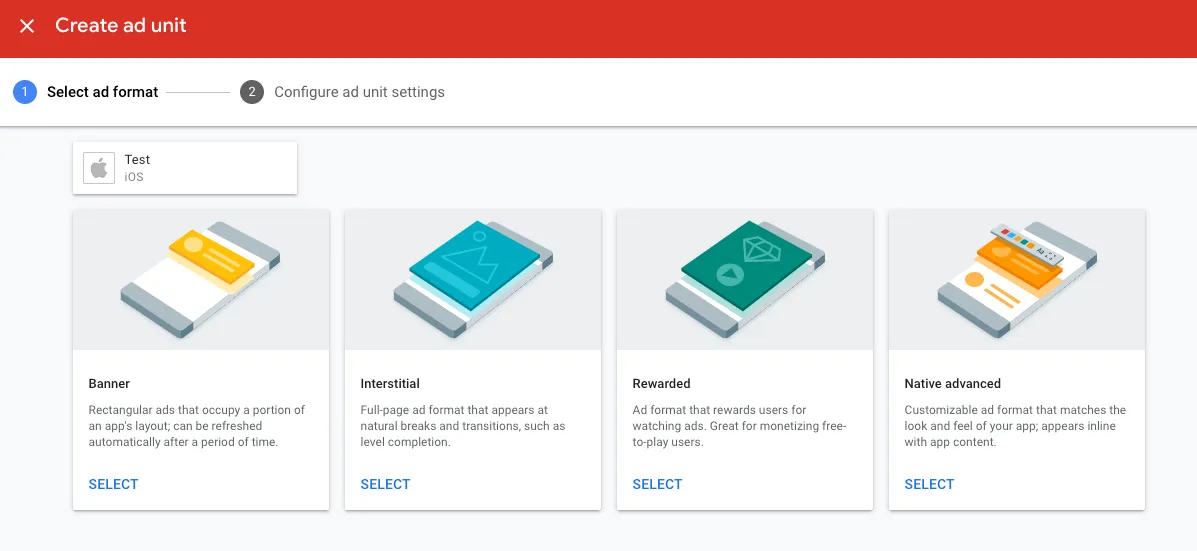
After you establish an app in your Google AdMob account, create individual ad units with CPM floors. For each ad format, follow the instructions below.
Format-Specific Instructions
-
In the Create ad unit section, select the Banner format.
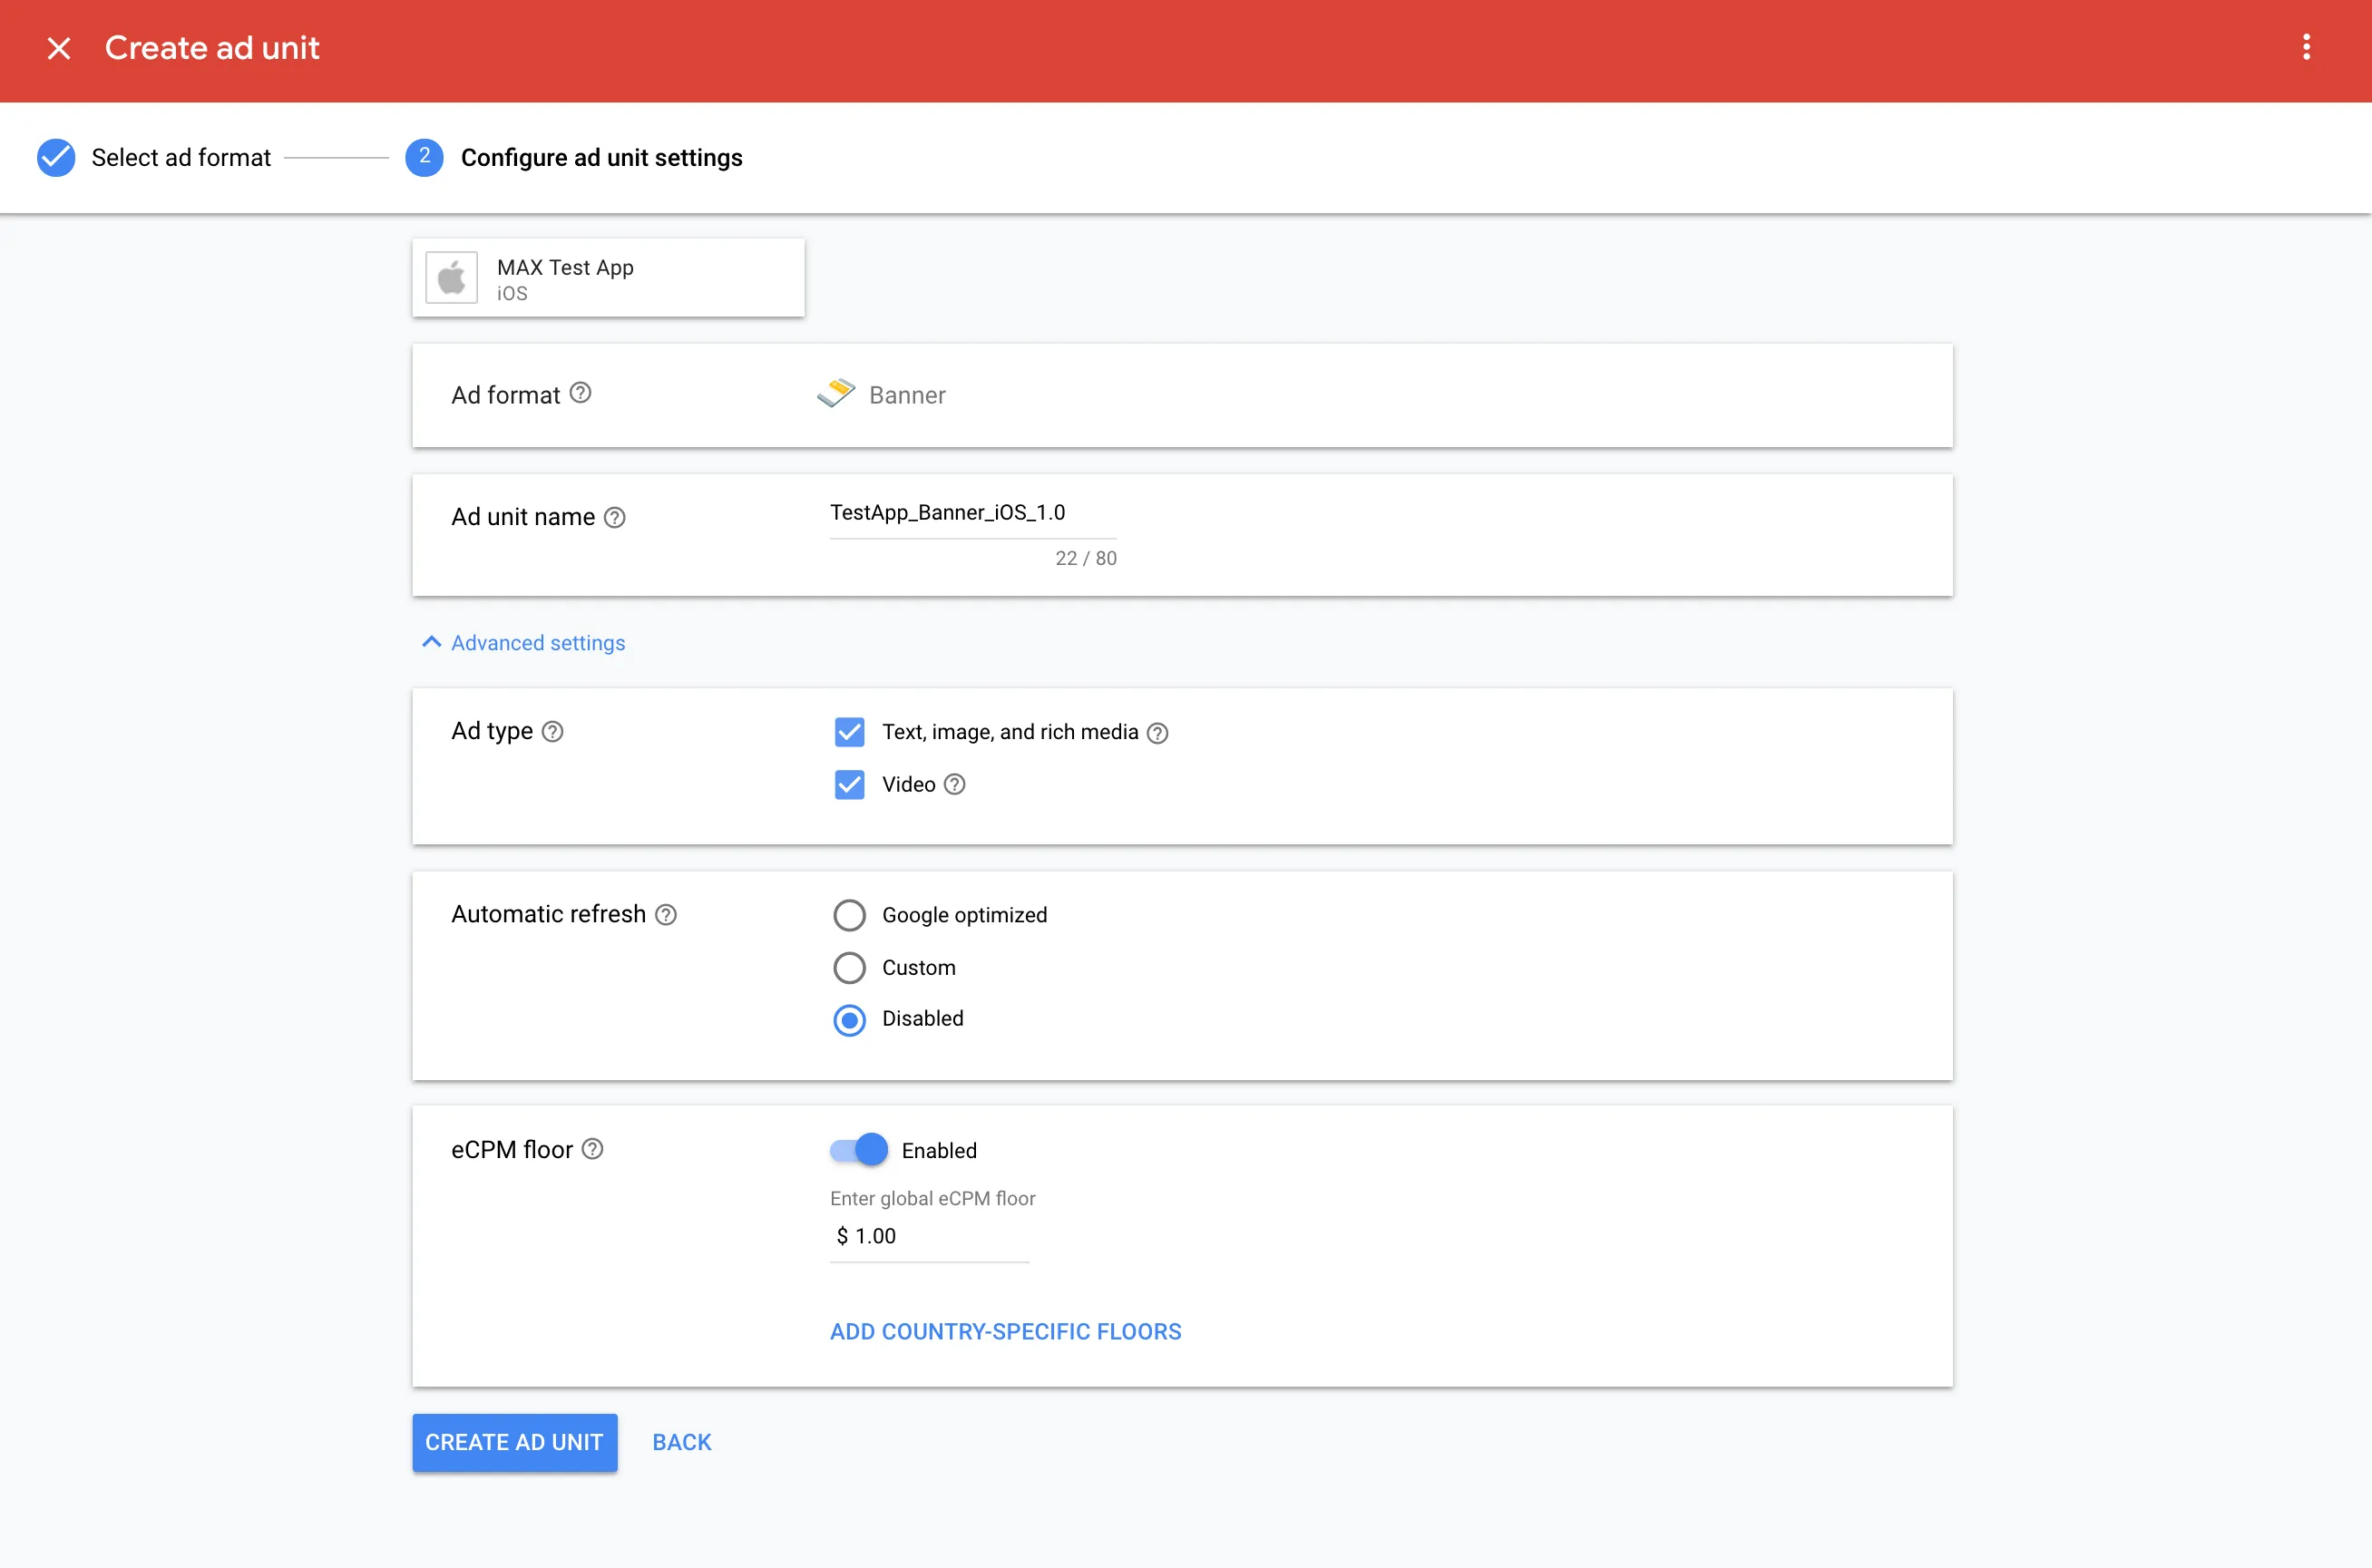
-
Type a name for this ad unit in the Ad Unit Name field.
-
In the Advanced Settings section, set the following:
- Ad Type: Check both Text, image, and rich media and Video.
- Automatic Refresh: Select Disabled.
- eCPM Floor: Type the amount listed in your MAX banner ad unit page.
-
Click CREATE AD UNIT to save. Make sure to note your Google bidding and Google AdMob app ID and the Ad Unit ID.
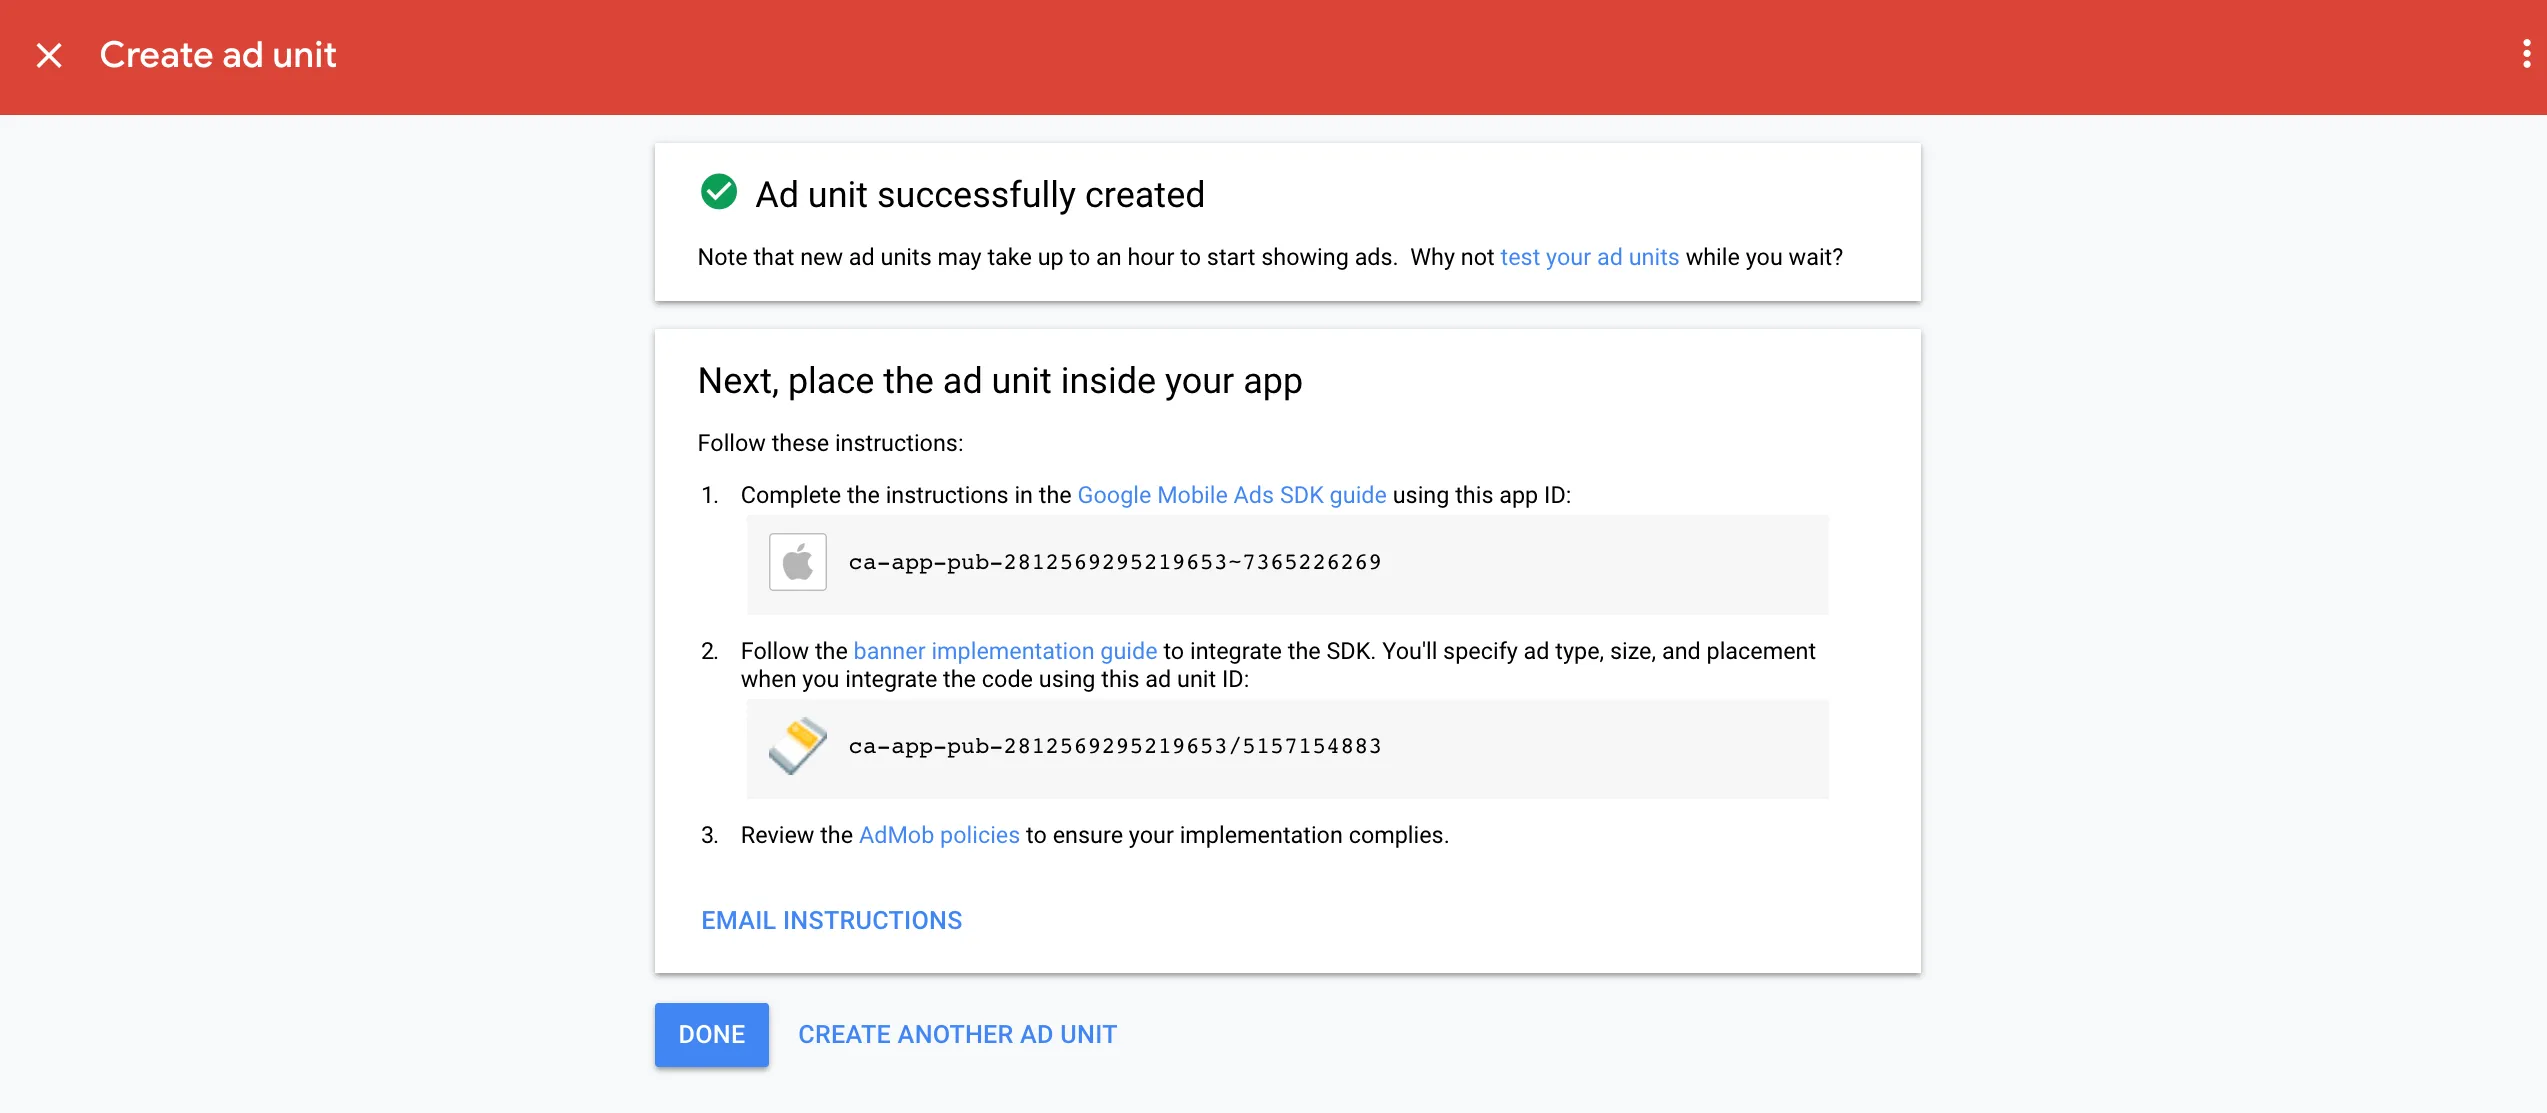
-
Click CREATE ANOTHER AD UNIT if you want to create more banner ad units.
-
In the Create ad unit section, select the Native Advanced format.
-
Type a name for this ad unit in the Ad Unit Name field.
-
In the Advanced Settings section, set the following:
- Ad Type: Check both Image and Video.
- eCPM Floor: Type the amount listed in your MAX banner ad unit page.

-
Click CREATE AD UNIT to save. Make sure to note your Google AdMob app ID and the Ad Unit ID.
-
Click CREATE ANOTHER AD UNIT if you want to create more ad units.
-
In the Create ad unit section, select the Interstitial format.
-
Type a name for this ad unit in the Ad Unit Name field.
-
In the Advanced Settings section, set the following:
- Ad Type: Check both Text, image, and rich media and Video.
- Frequency Capping: Set this to Disabled.
- eCPM Floor: Type the amount listed in your MAX interstitial ad unit page.
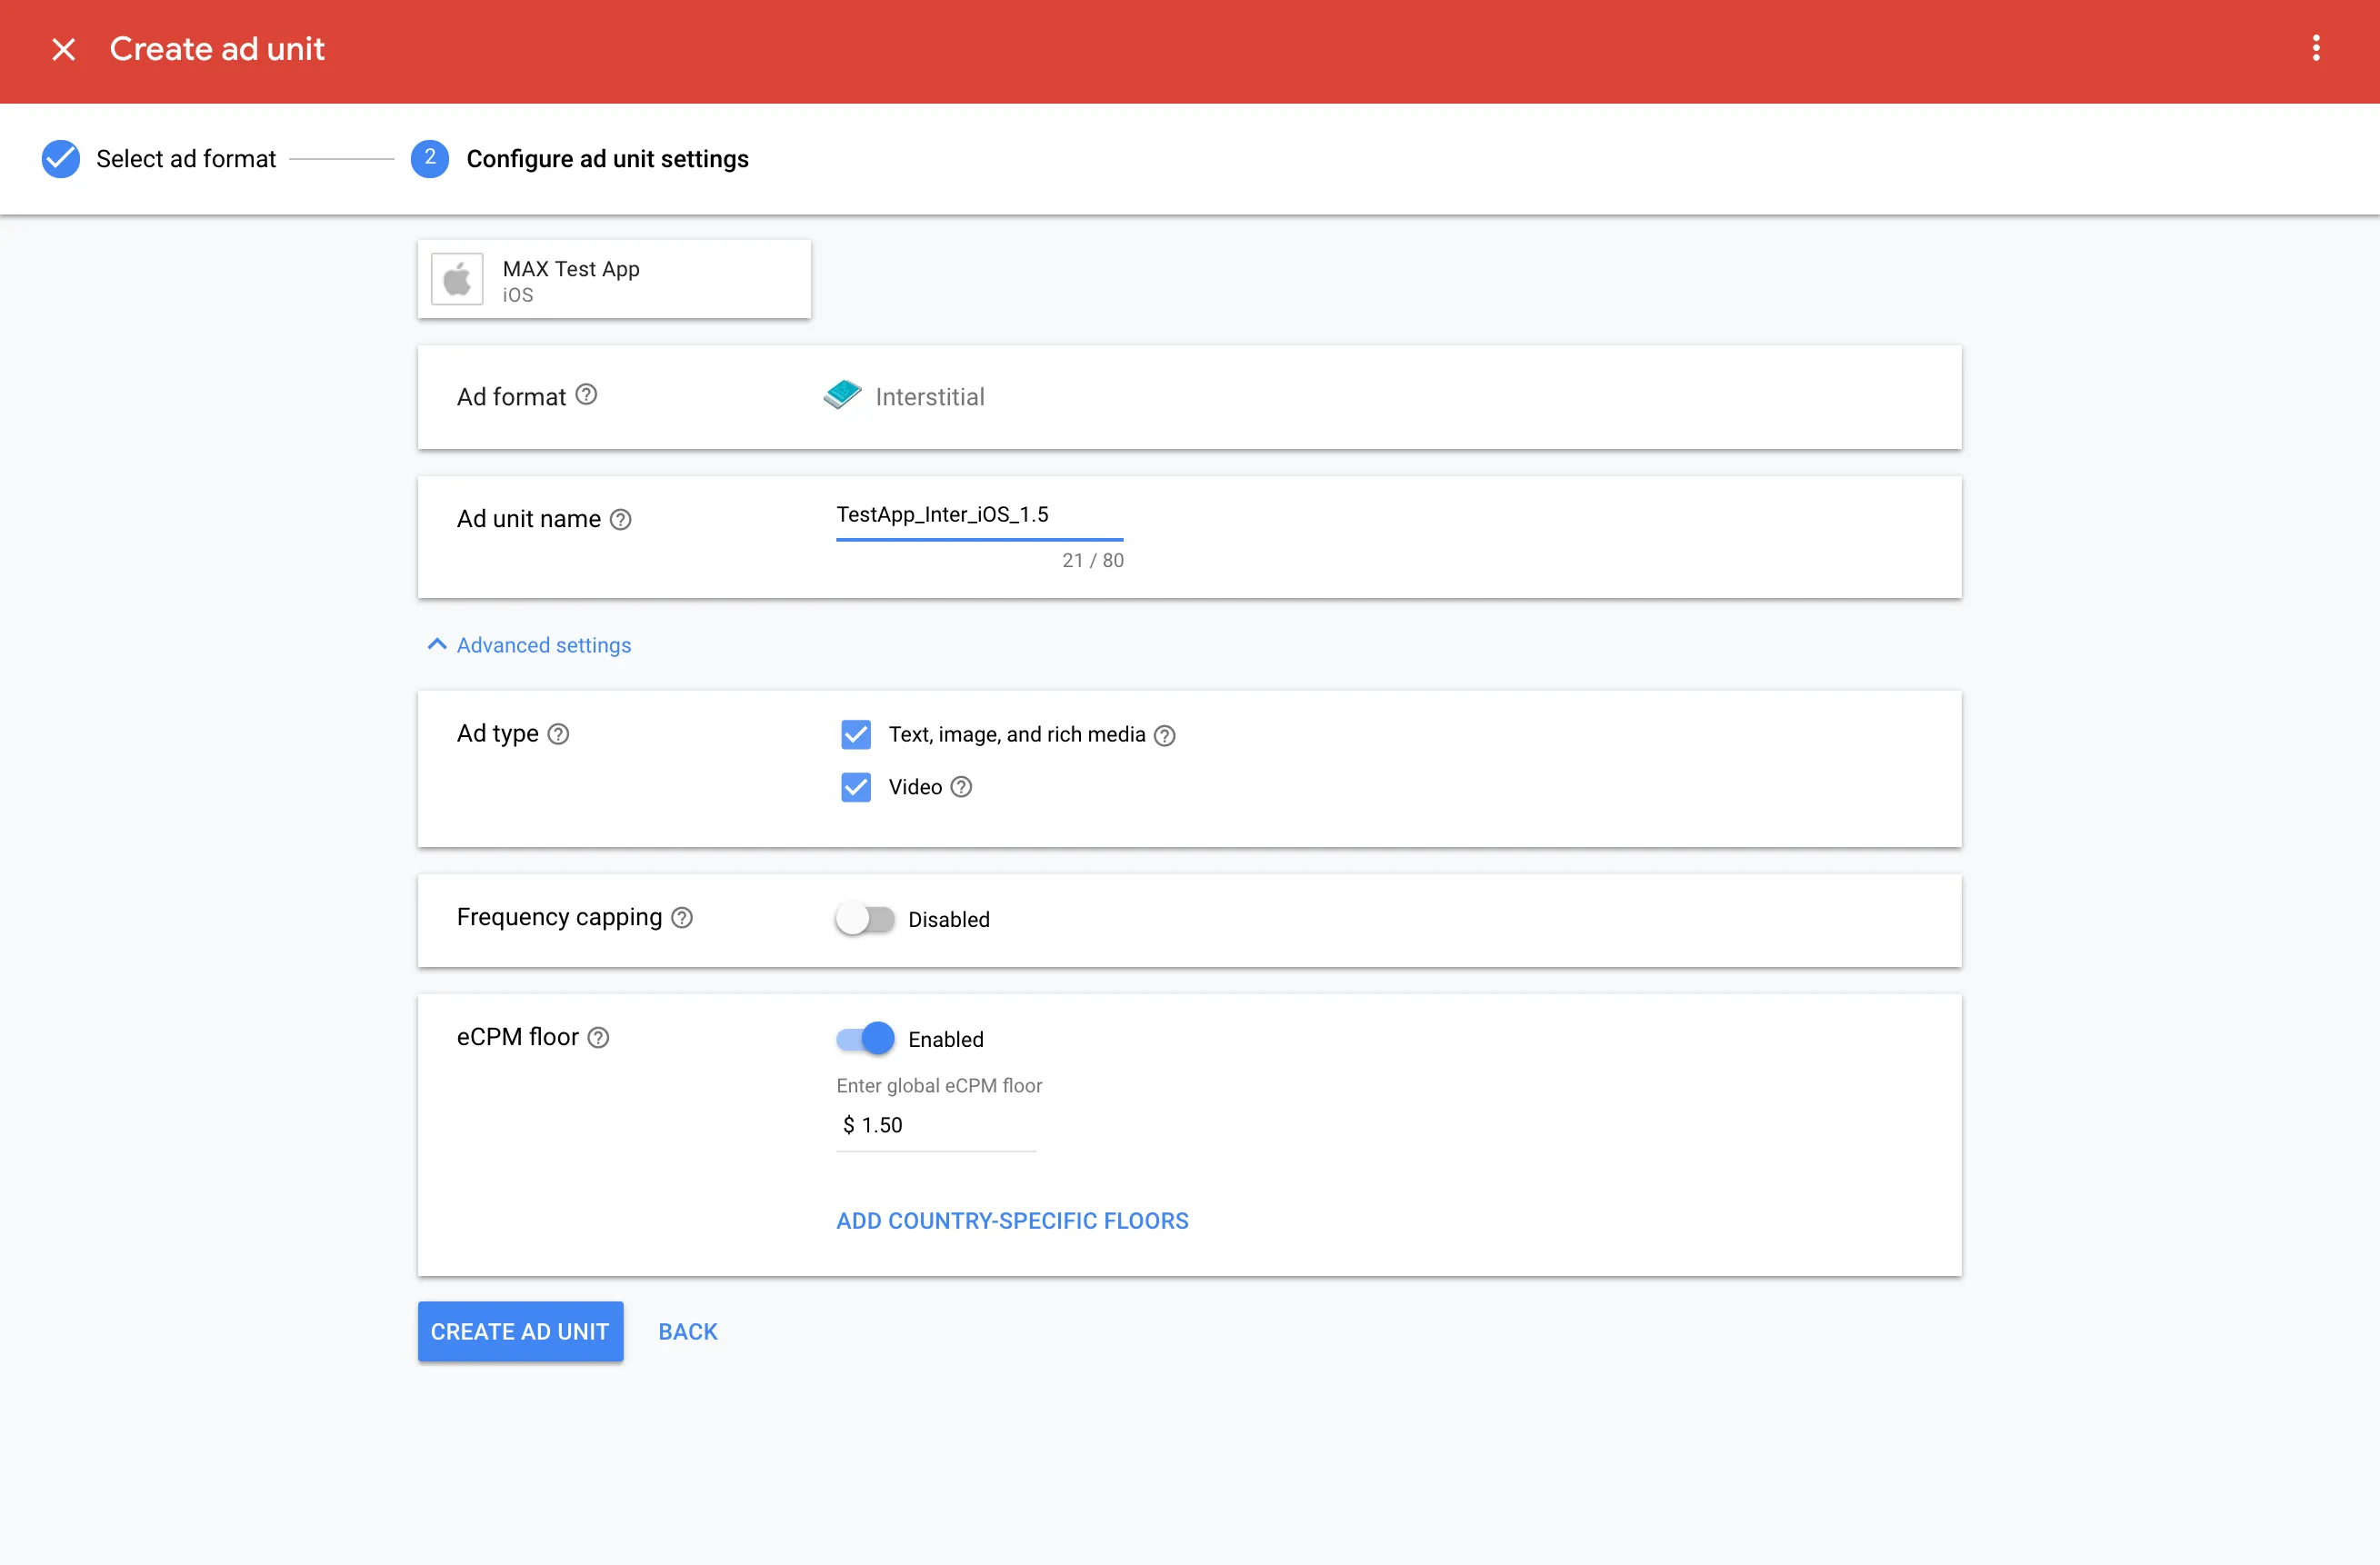
-
Click CREATE AD UNIT to save. Make sure to note your Google AdMob app ID and the Ad Unit ID.
-
Click CREATE ANOTHER AD UNIT if you want to create more ad units.
-
In the Create ad unit section, select the Rewarded format.
-
Type a name for this ad unit in the Ad Unit Name field.
-
In the Advanced Settings section, set the following:
- Ad Type: Check Include Interactive.
- Frequency Capping: Set this to Disabled.
- eCPM Floor: Type the amount listed in your MAX rewarded ad unit page.
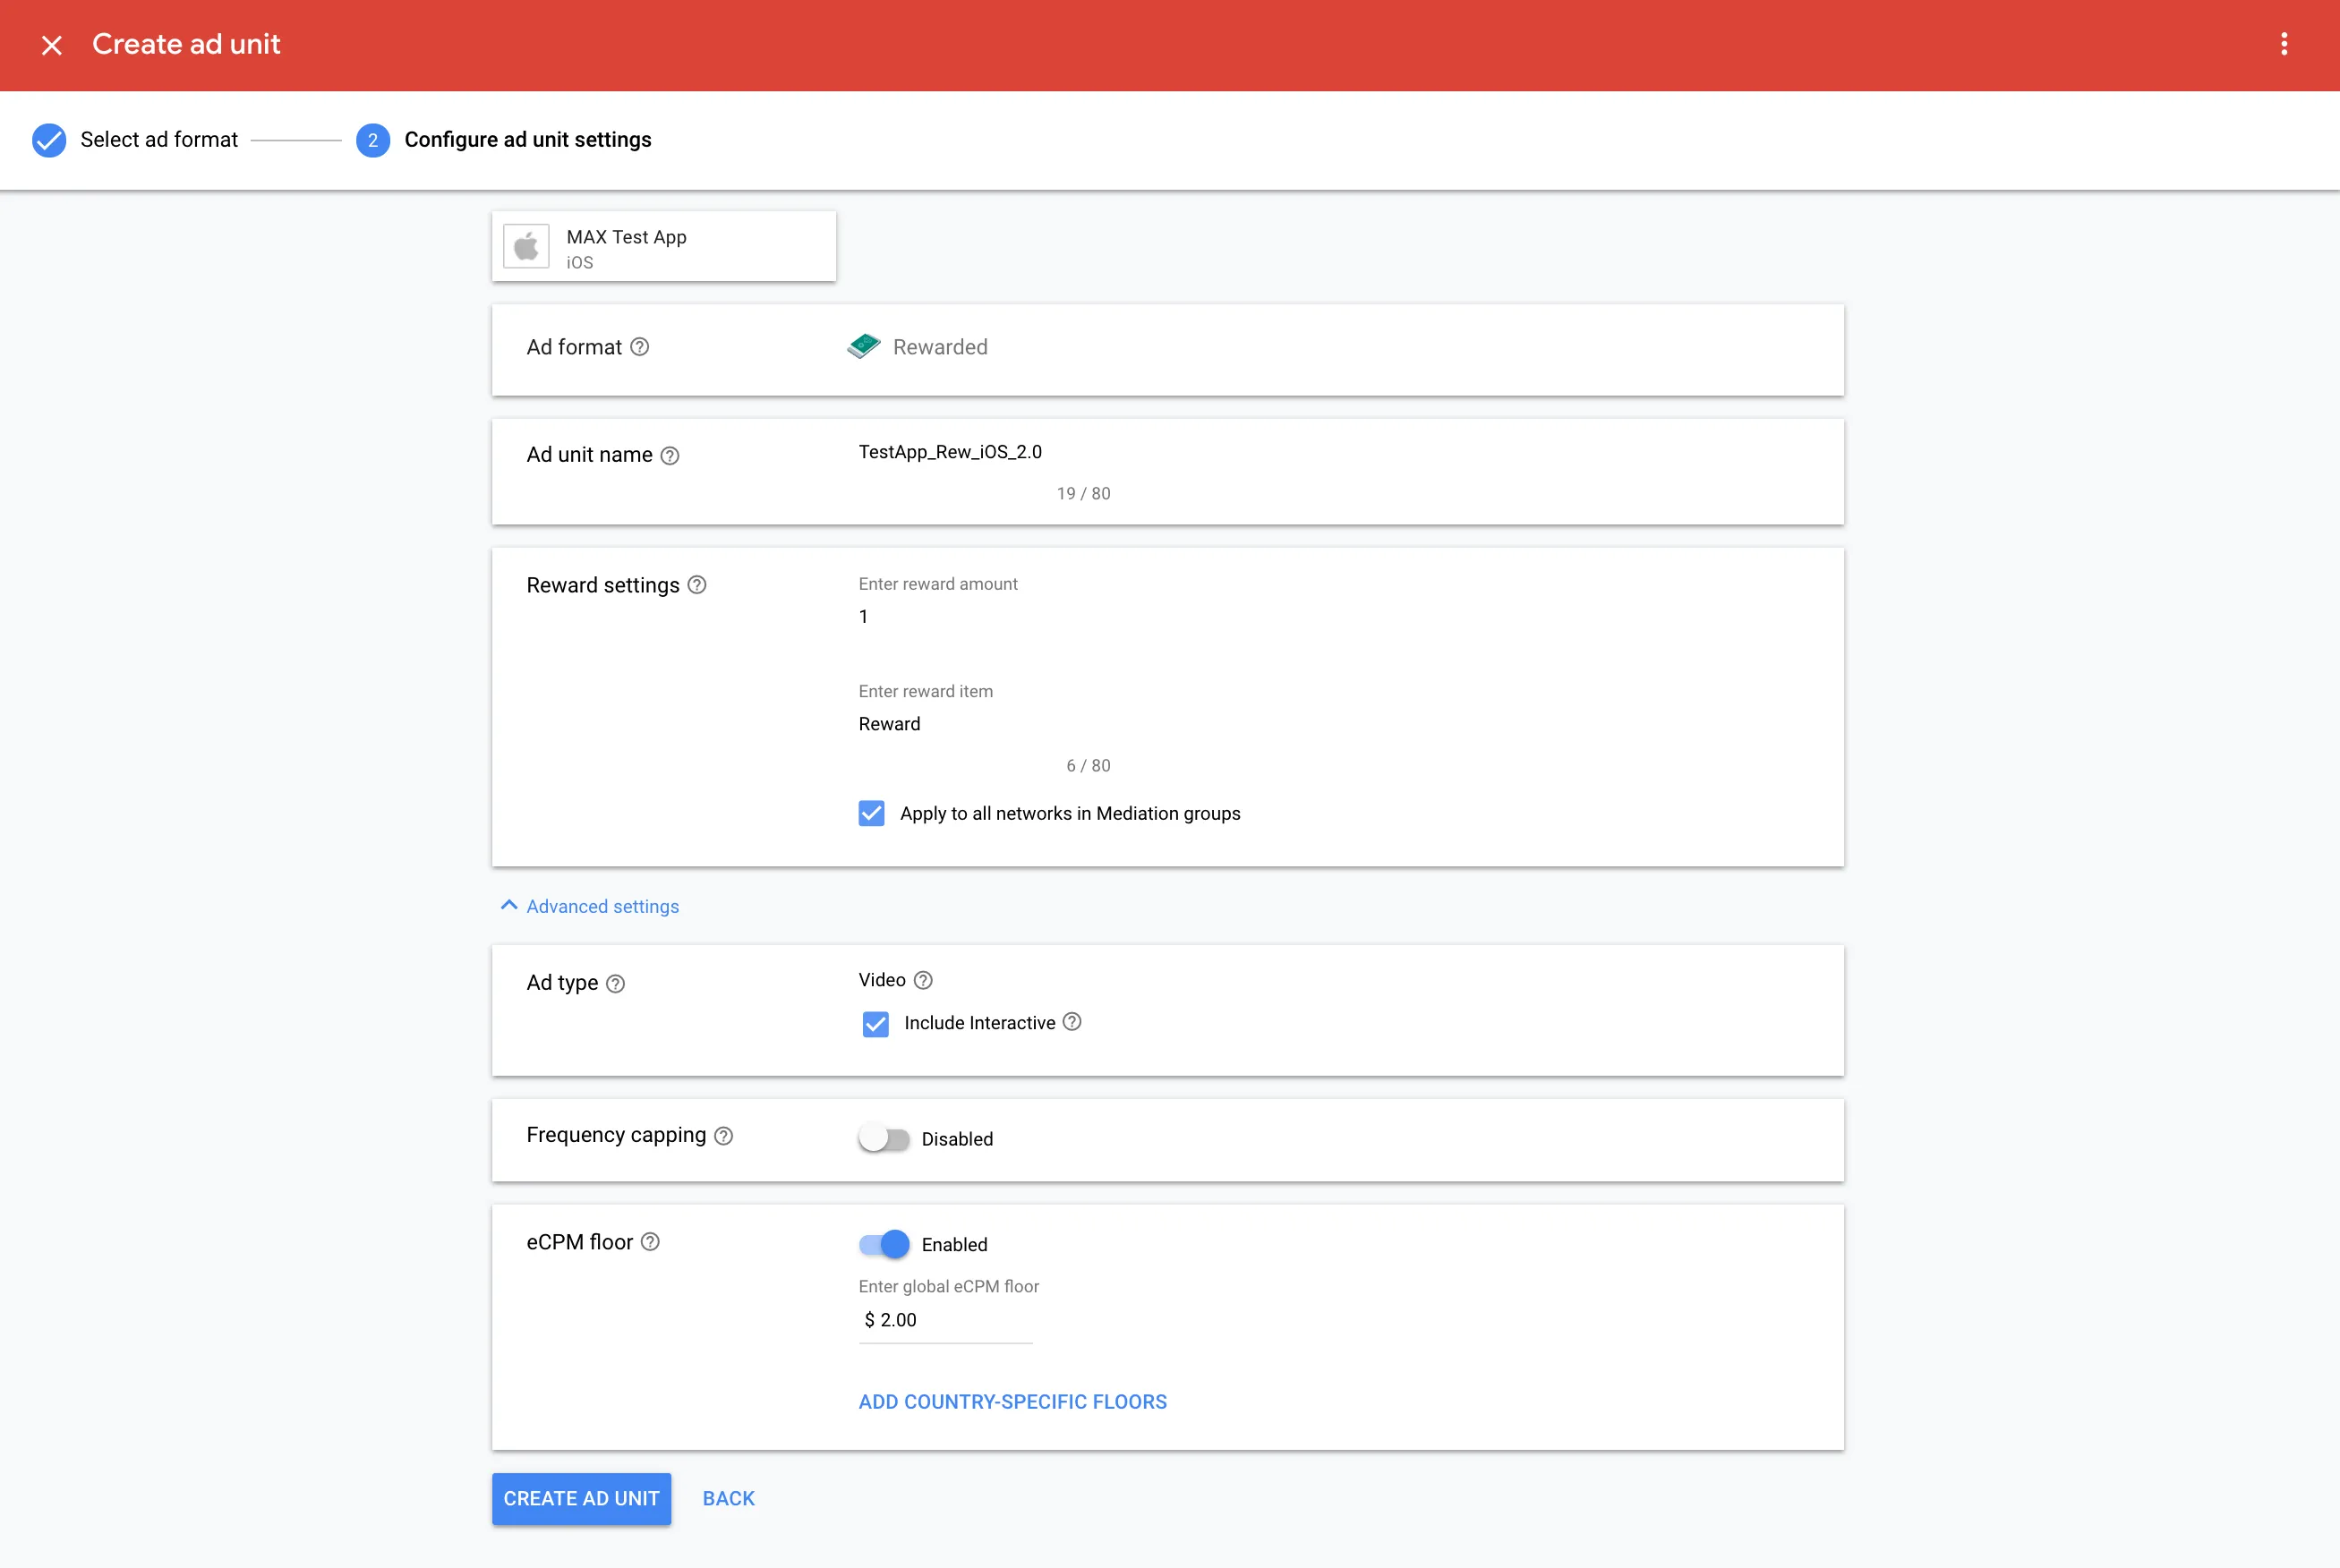
-
Click CREATE AD UNIT to save. Make sure to note your Google AdMob app ID and the Ad Unit ID.
-
Click CREATE ANOTHER AD UNIT if you want to create more ad units.
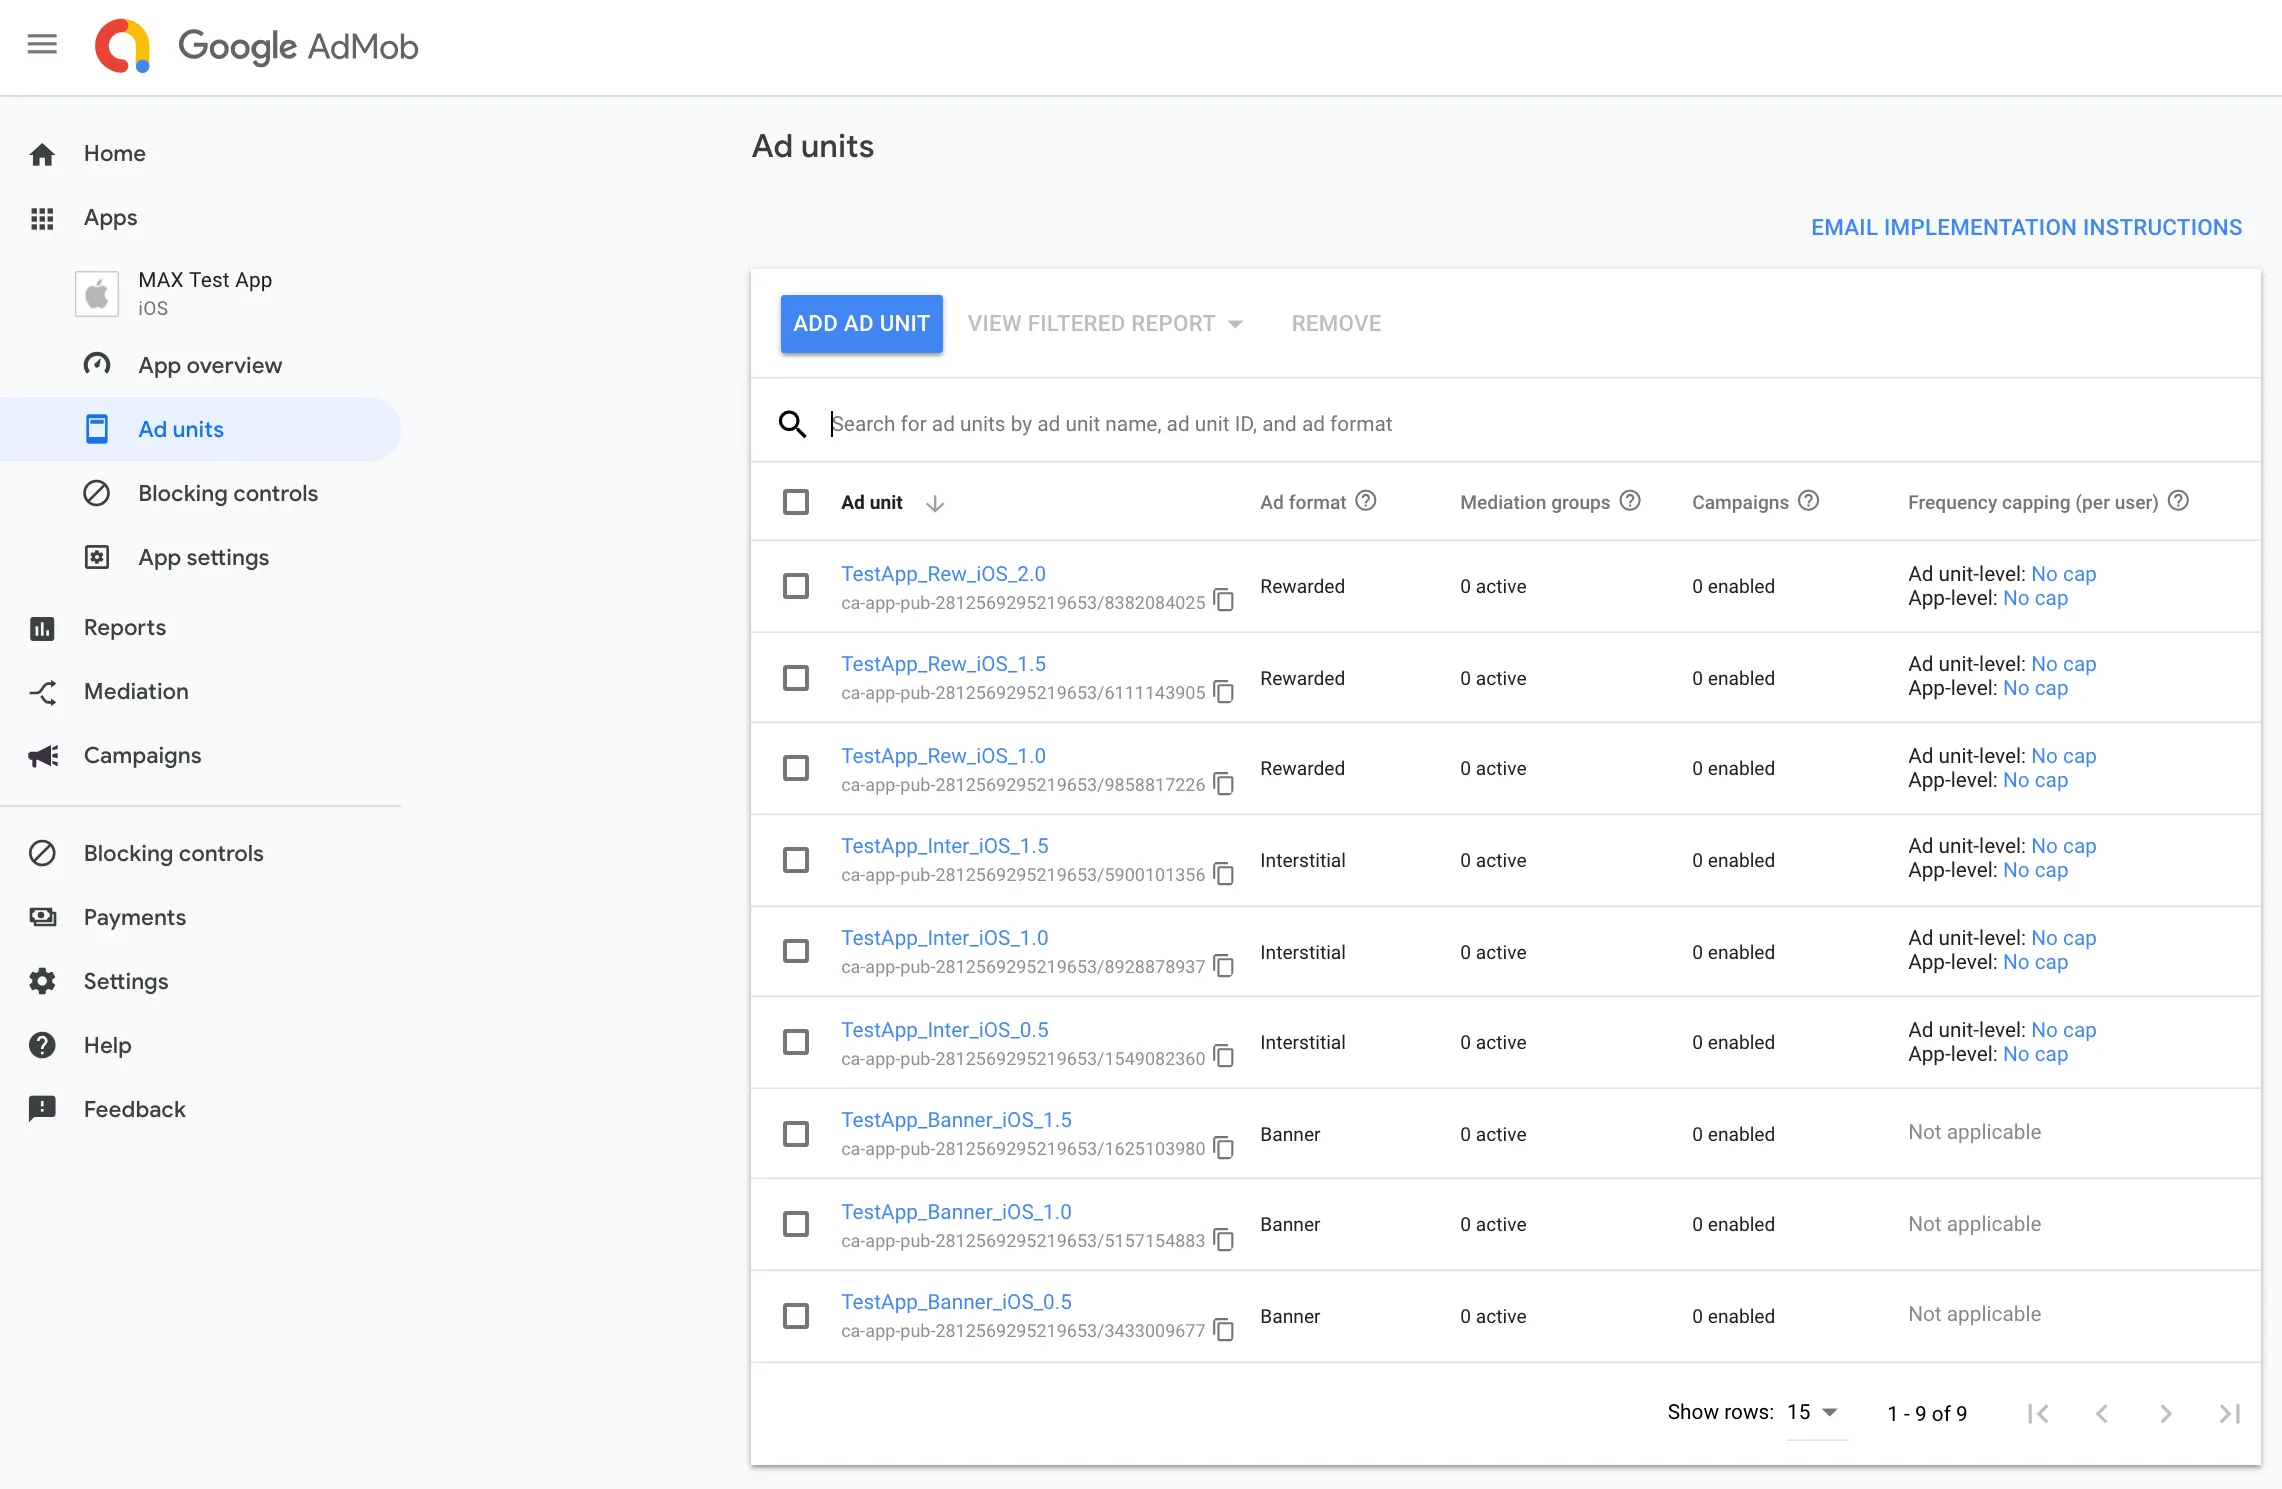
After you create all the Google AdMob ad units you need, you can get their placement IDs by selecting Ad Units in the left navigation bar.
Step 3. Enable Google AdMob in Your MAX Account
- When you complete your Google AdMob setup, log in to your MAX account.
- Select MAX > Manage > Ad Units.
- Click the MAX ad unit placement on which you want to enable Google AdMob.
- Type the Google AdMob App ID value(s) associated with the MAX ad unit you selected.
- Click the Status bar to activate the network.
- Click ✓ Save. This enables Google AdMob in the participating networks list for this ad unit.
Content URL Mapping Support
MAX supports Google’s content mapping for apps. This enables you to deliver contextually relevant ads from Google AdMob. To use this feature, integrate:
- Google Adapter version: 9.3.0.2 or later
- MAX SDK version: 11.0.0 or later
Single-Content URL Mapping
To pass a single-content URL, call setLocalExtraParameterForKey on the ad object.
Pass that function the URL string:
-[setLocalExtraParameterForKey: "google_content_url" value: NSString]Multi-Content URL Mapping
To pass multi-content URLs, call setLocalExtraParameterForKey on the ad object.
Pass that function a list of URL strings:
-[setLocalExtraParameterForKey: "google_neighbouring_content_url_strings" value: NSArray<NSString *>]HyprMX
Step 1. Create an HyprMX Account
Contact a HyprMX representative for help with creating your account.
Step 2. Create an Application and Placements in HyprMX
Contact a HyprMX representative for help with creating an application and placements. They will give you the Distributor ID and the Placement Name that you need to enable HyprMX on MAX.
Step 3. Enable HyprMX in Your MAX Account
- When you have the HyprMX instance IDs you need, log in to your MAX account.
- Select MAX > Manage > Ad Units.
- Click the MAX ad unit placement on which you want to enable HyprMX.
- Type the HyperMX instance IDs associated with the MAX ad unit you selected in the Placement Name section.
- Click the Status bar to activate the network.
- Click ✓ Save.
ironSource
Step 1. Create an ironSource Account
To enable ironSource ad inventory through MAX Mediation platform, you must have an approved account with ironSource. If you do not have an account, sign up at the ironSource site.
If you already have an account, skip to Step 3 and activate ironSource in your MAX ad units.
Step 2. Create an Application in ironSource
Add Your App
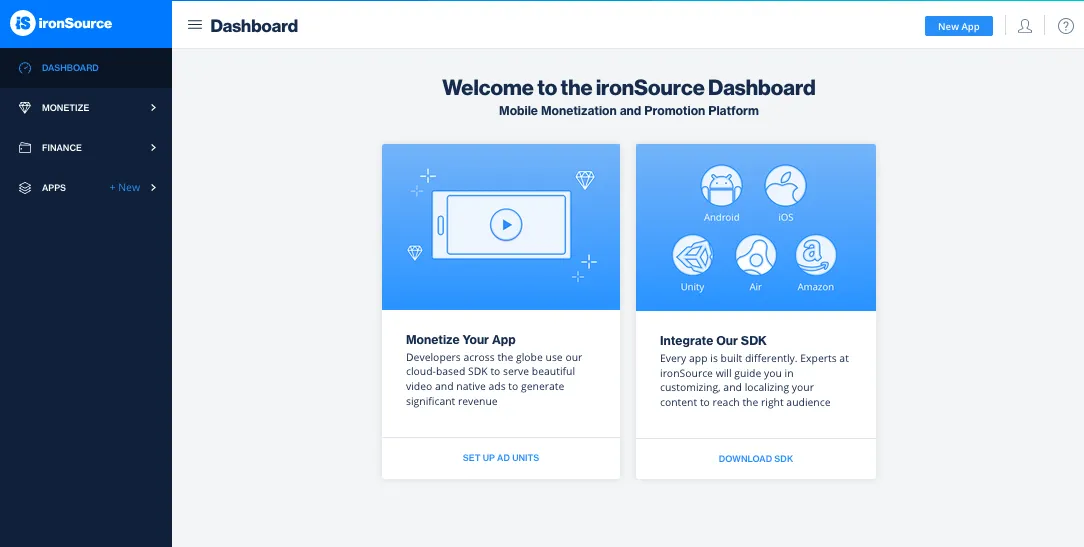
To start monetizing your app with ironSource, add your app on the ironSource dashboard.
-
Log in to your ironSource account.
-
Select Apps > App Management.
-
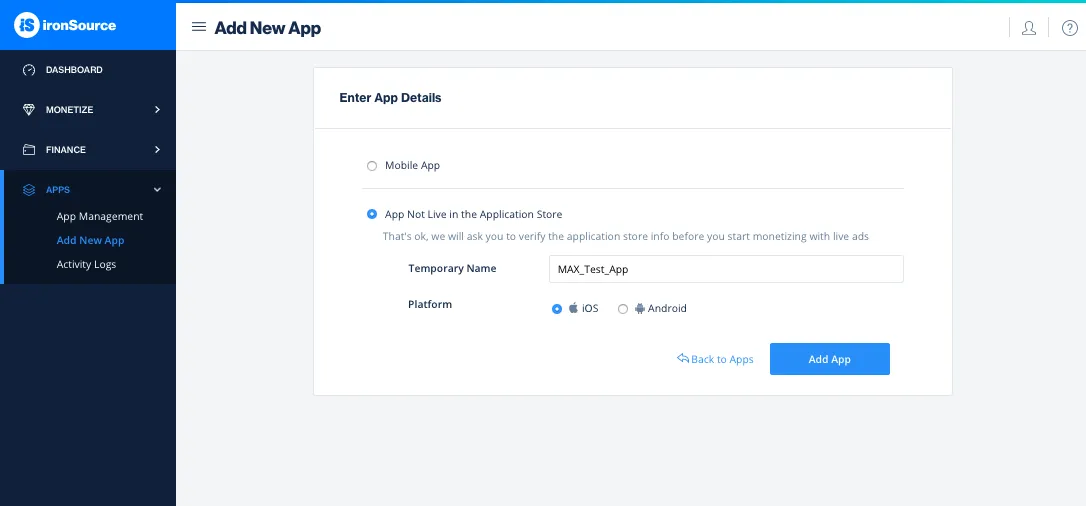
Click New App (in the upper right corner of the page).
-
If your app is live in the App Store or on Google Play, choose Mobile App and enter your app’s URL as it appears in the App Store or Google Play. Then click Import App Info.
If your app is not live yet, choose App Not Live in the Application Store, enter a temporary app name in the Temporary Name field, and choose the platform. Then click Add App.
-
Set up your payment details as described in “How to set up your payment method” in the ironSource Knowledge Center. This enables payments to your preferred payment method. You must set up your payment details in order to switch your app(s) from Test mode to Live!.
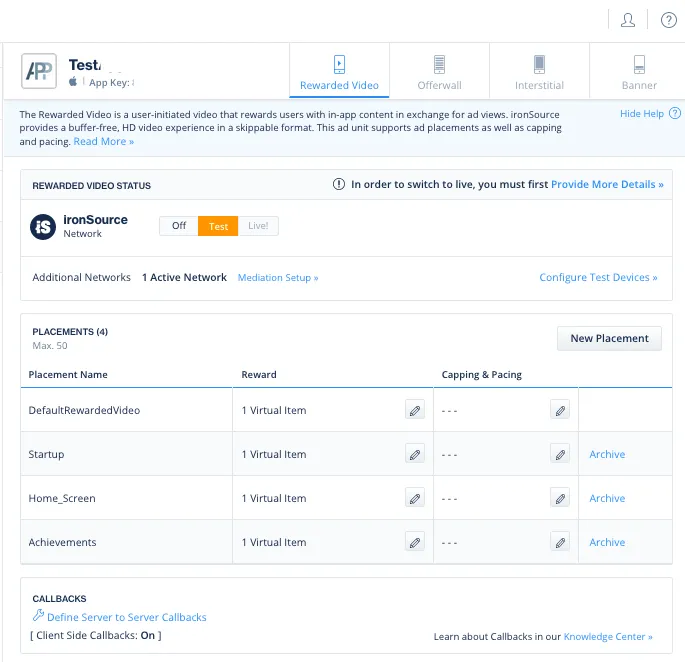
ironSource Instances
If you have the ironSource Instances feature activated in your account, you can also add instance IDs in your MAX ad unit configuration page to enable ironSource as a mediated network.
AppLovin recommends that you use the “Flat eCPM for all/specific countries” setting for instance IDs that you enable through MAX. This improves the accuracy of reporting.
If you want to use ironSource instances, contact your ironSource Account Manager for more information. You can read more about how to create instance IDs at “IronSource Instances Setup” in the ironSource Knowledge Center.
Step 3. Enable ironSource in Your MAX Account
- When you have the ironSource instance IDs you need, log in to your MAX account.
- Select MAX > Manage > Ad Units.
- Click the MAX ad unit placement on which you want to enable ironSource.
- Type the ironSource instance IDs associated with the MAX ad unit you selected in the Placement Name section.
- Click the Status bar to activate the network.
- Click ✓ Save. This enables ironSource in the participating networks list for this ad unit.
LINE
Step 1. Create a LINE Account
Register for a LINE account at the LINE site or contact your LINE representative to create your account.
Step 2. Create an Application and Placements in LINE
Add Your App
To add your app, follow these instructions:
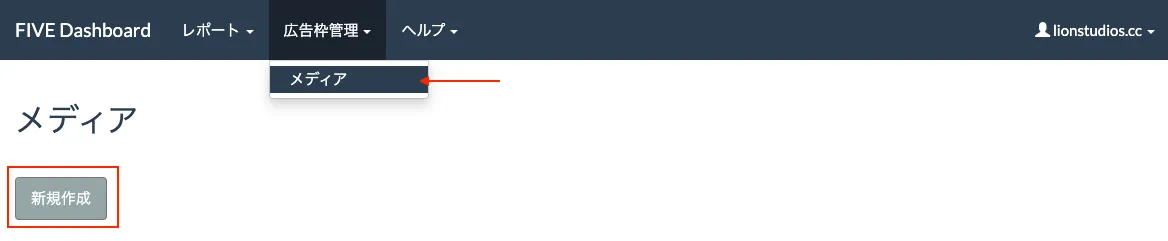
- Log in to LINE.
- Select 広告枠管理 > メディア in the upper tab menu.
- Click 新規作成 to create a new app.
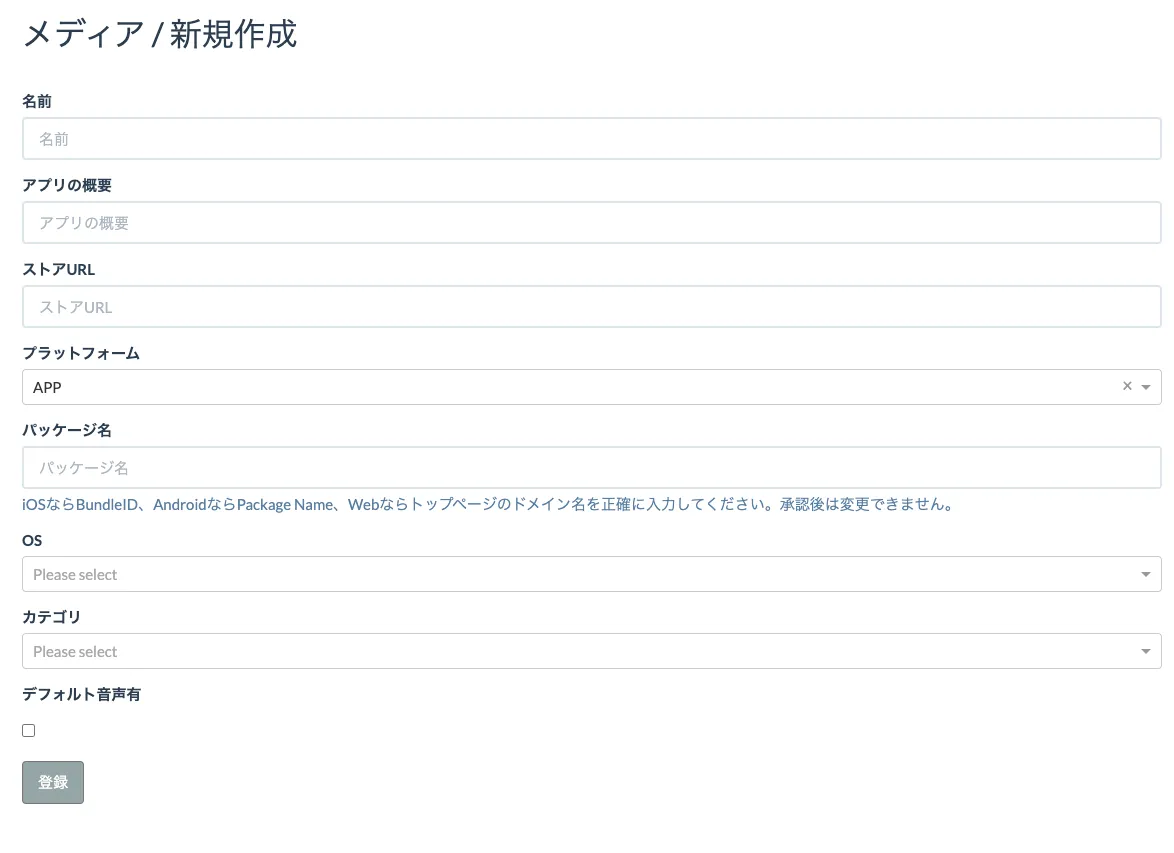
- Set your app settings as follows:
- 名前: Type the name of your app.
- アプリの概要: Type a description of your app.
- ストアURL: Type the Store URL.
- プラットフォーム: Choose APP.
- パッケージ名: Type the bundle ID or package name.
- OS: Choose iOS or Android.
- カテゴリー: Category.
- Click 登録 to add your app.
Add a New Slot
To add a new slot, follow these instructions:
-
Click the name of the app for which you want to add a new slot.
-
Select 詳細.
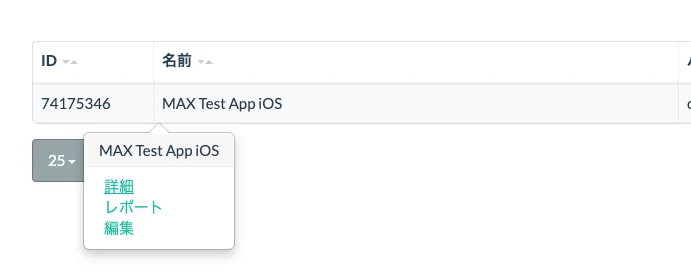
-
Click スロット追加.

-
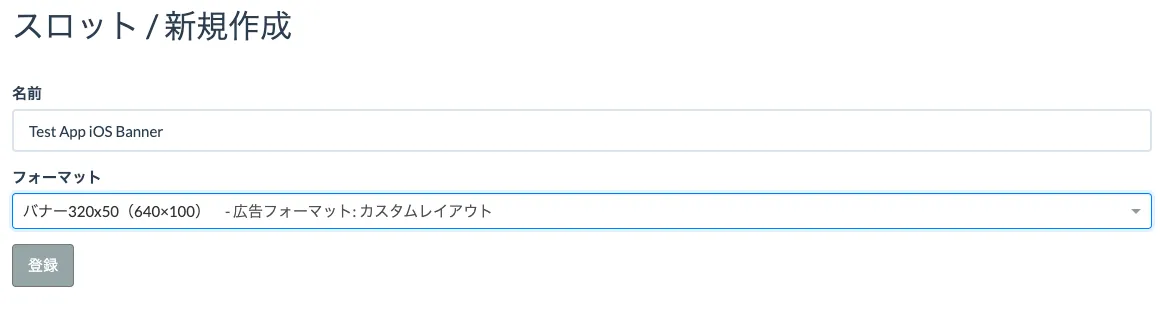
Set your slot settings:
- 名前: Type a name for the Slot you want to add.
- フォーマット: Format.
- Banner: バナー320x50.
- MREC: レクタングル300x250.
- Interstitial: インタースティシャル.
- Rewarded: 動画リワード縦向き for portrait, 動画リワード横向き for landscape.
- To use Native format, please contact your LINE representative.
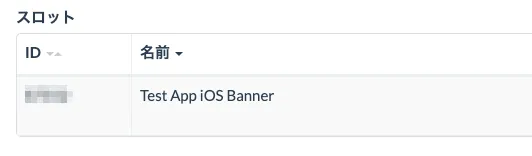
- Click 登録 to add your new Slot.
- To set a CPM floor price, contact your LINE representative.
-
After you create your first placement, click 審査申請 to get approval from LINE. This may take a while. Contact your LINE representative if you have any questions.

Get Your App ID and Slot ID
You can retrieve your App ID by selecting 広告枠管理 > メディア. You can retrieve your Slot ID from the app details page.

Step 3. Enable LINE in Your MAX Account
- When you complete your LINE setup, log in to your MAX account
- Select MAX > Manage > Ad Units.
- Click the MAX ad unit placement on which you want to enable LINE.
- Type the LINE App ID and the LINE Slot IDs associated with the MAX ad unit you selected along with the CPM floors.
- Click the Status bar to activate the network.
- Click ✓ Save. This enables LINE in the participating networks list for this ad unit.
Maio
Step 1. Create a Maio Account
To enable Maio ad inventory through MAX Mediation platform, you must have an approved account with Maio. If you do not have an account, sign up through this form.
If you already have an Maio account, skip to Step 3 and activate Maio in your MAX ad units. AppLovin recommends that you create new placement IDs, as this improves the accuracy of what MAX reports.
Step 2. Create an Application and Placements in Maio
Add Your App
If you have already created an app, skip to Add a New Placement below to create a Zone ID for your MAX integration.
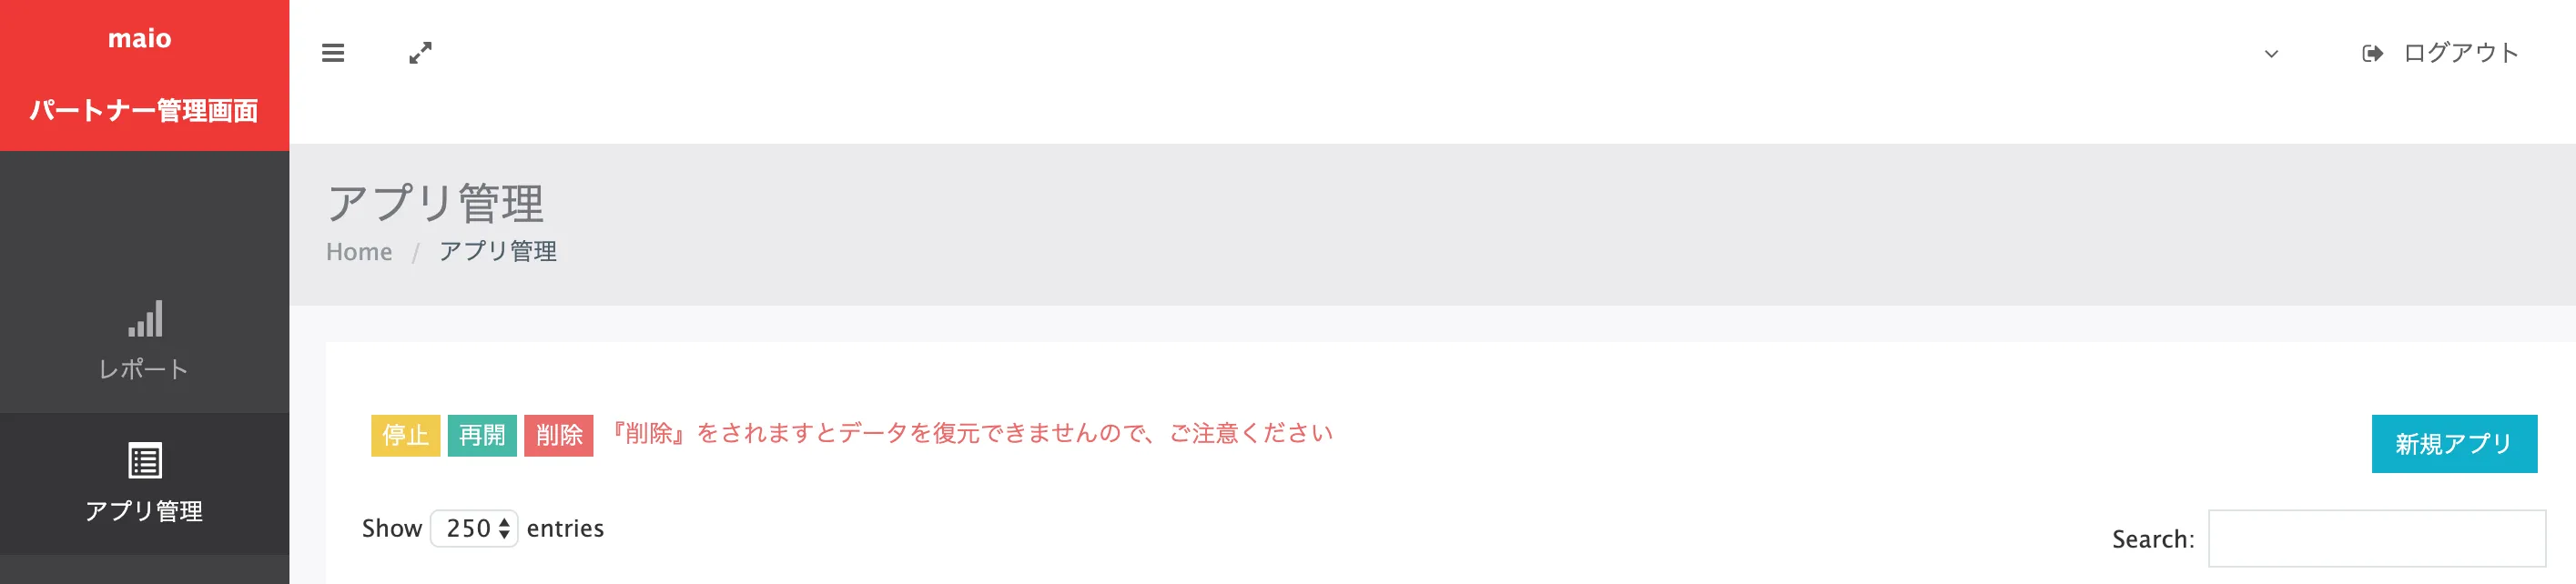
- Log in to your Maio account.
- Select Apps (アプリ管理) from the menu on the left.
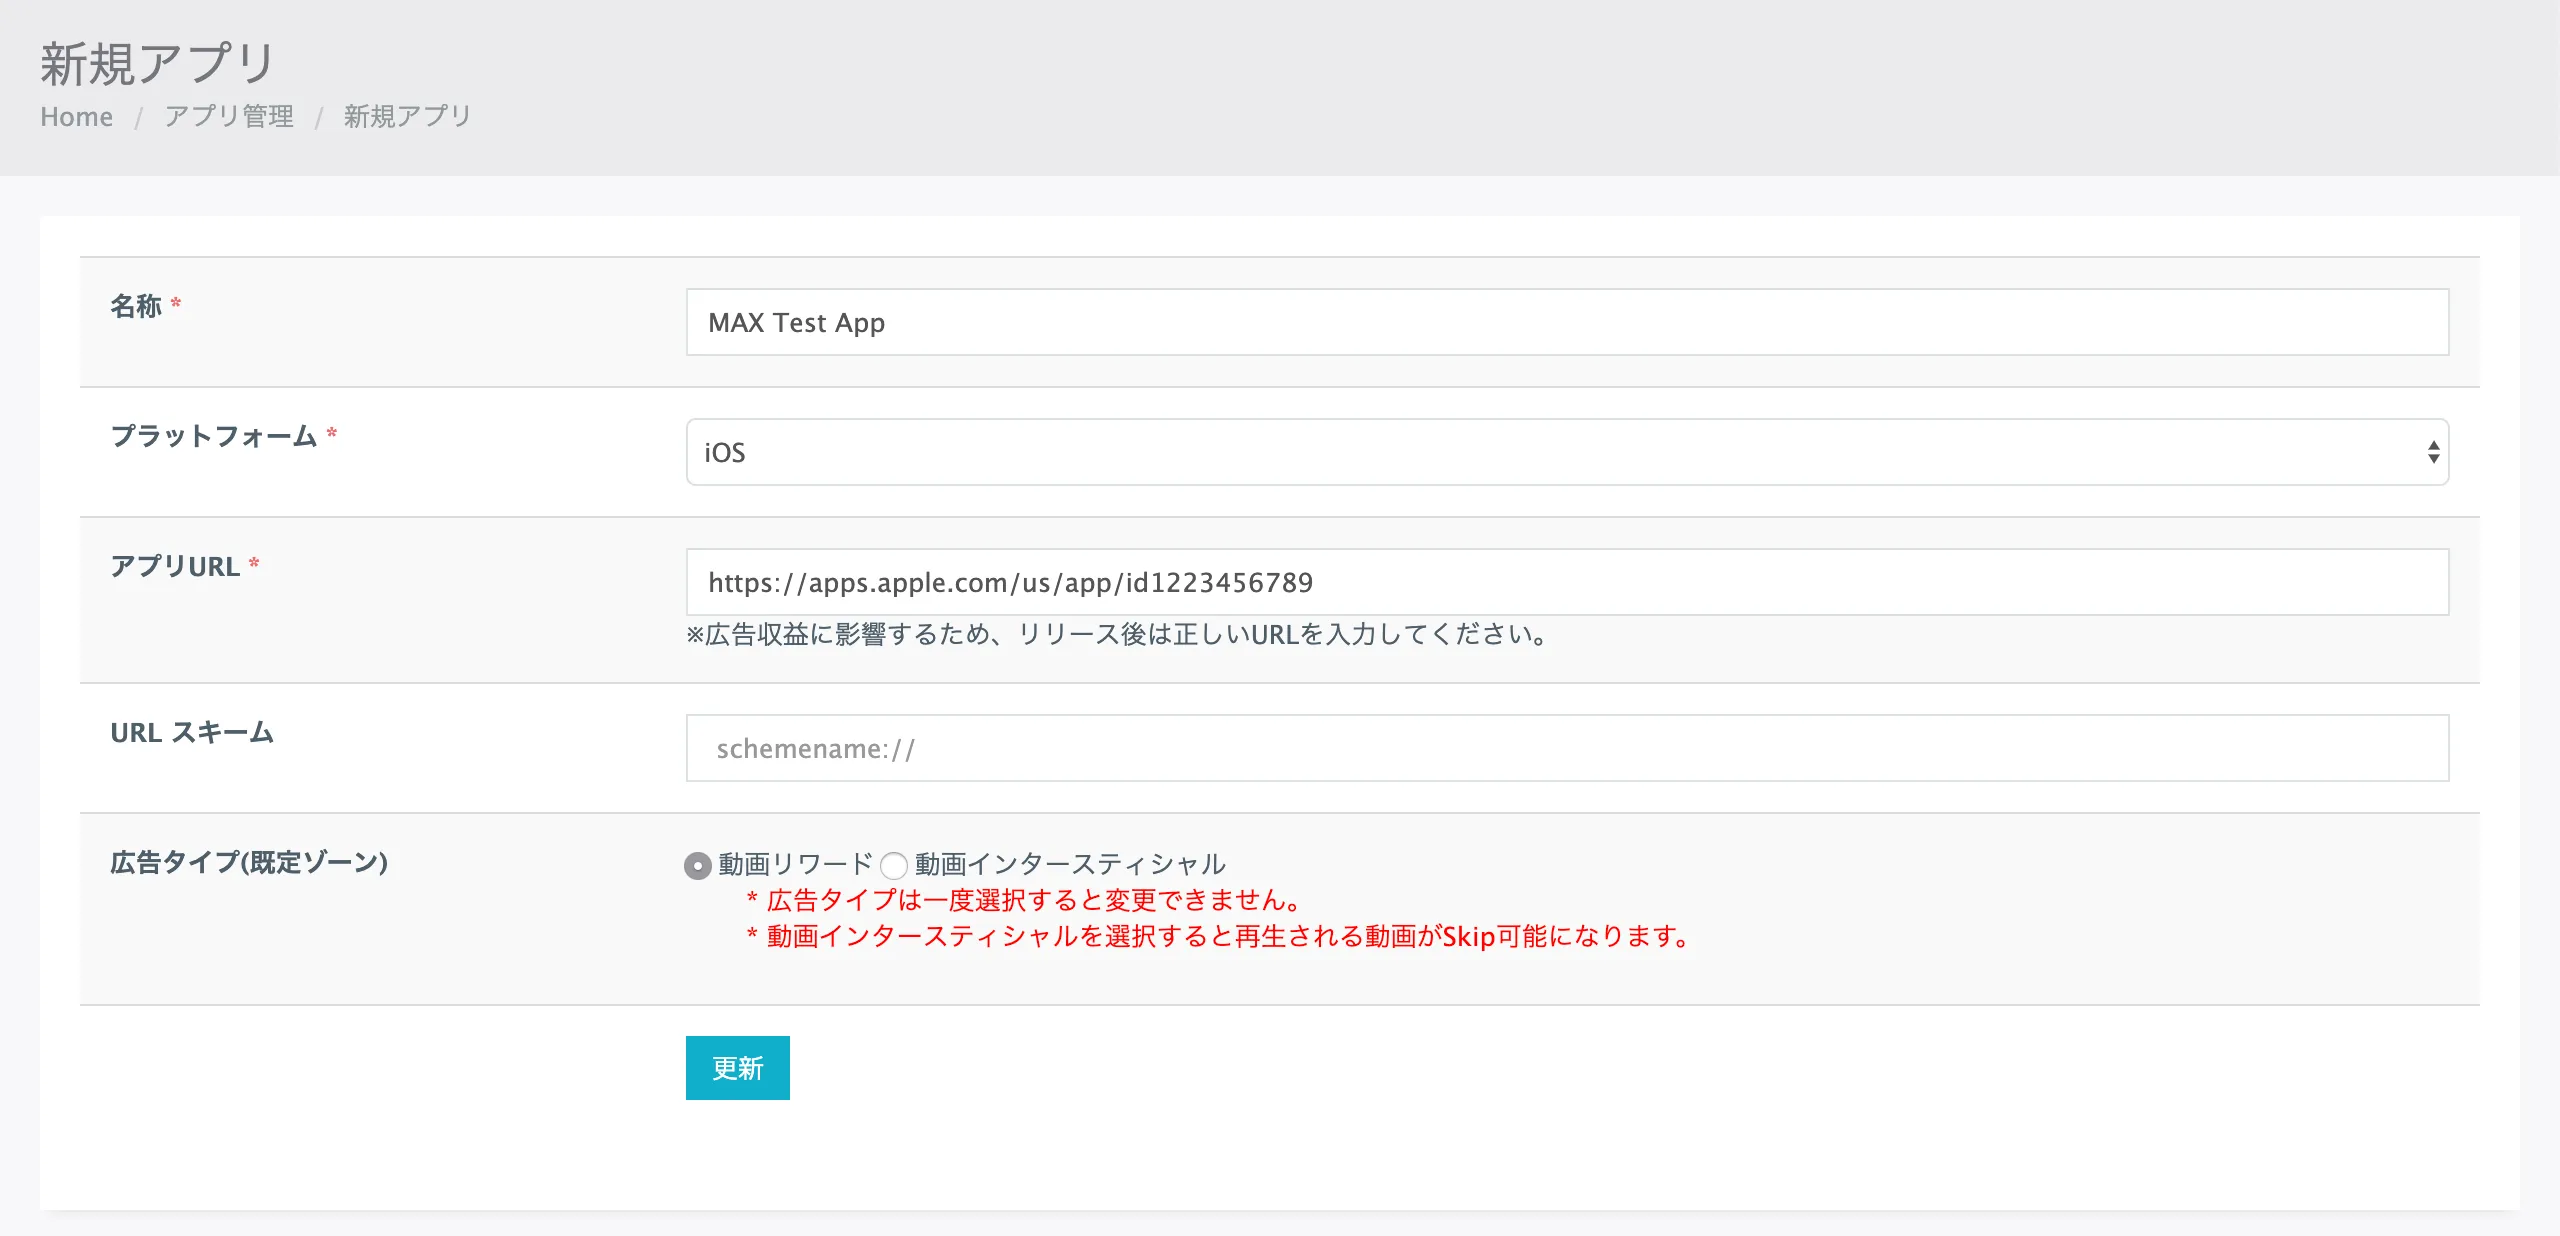
- Select New App (新規アプリ) to create a new app.
- Set your App Settings:
- Name (名称): Type the name of your app.
- Platform (プラットフォーム): Choose iOS or Android.
- URL (アプリURL): Type the store URL of the app.
- URL Scheme (URLスキーム): Leave this blank.
- Default Zone (広告タイプ(既定ゾーン)): Choose Rewarded (動画リワード) or Interstitial (動画インタースティシャル). You can add another ad type later.
- Click Submit (更新) to add your app.
Take note of your Media ID (メディアID) for the app.

Add a New Placement
After you create your app, you can create new placements or use the default placement created by Maio. To create a new placement, follow these instructions:
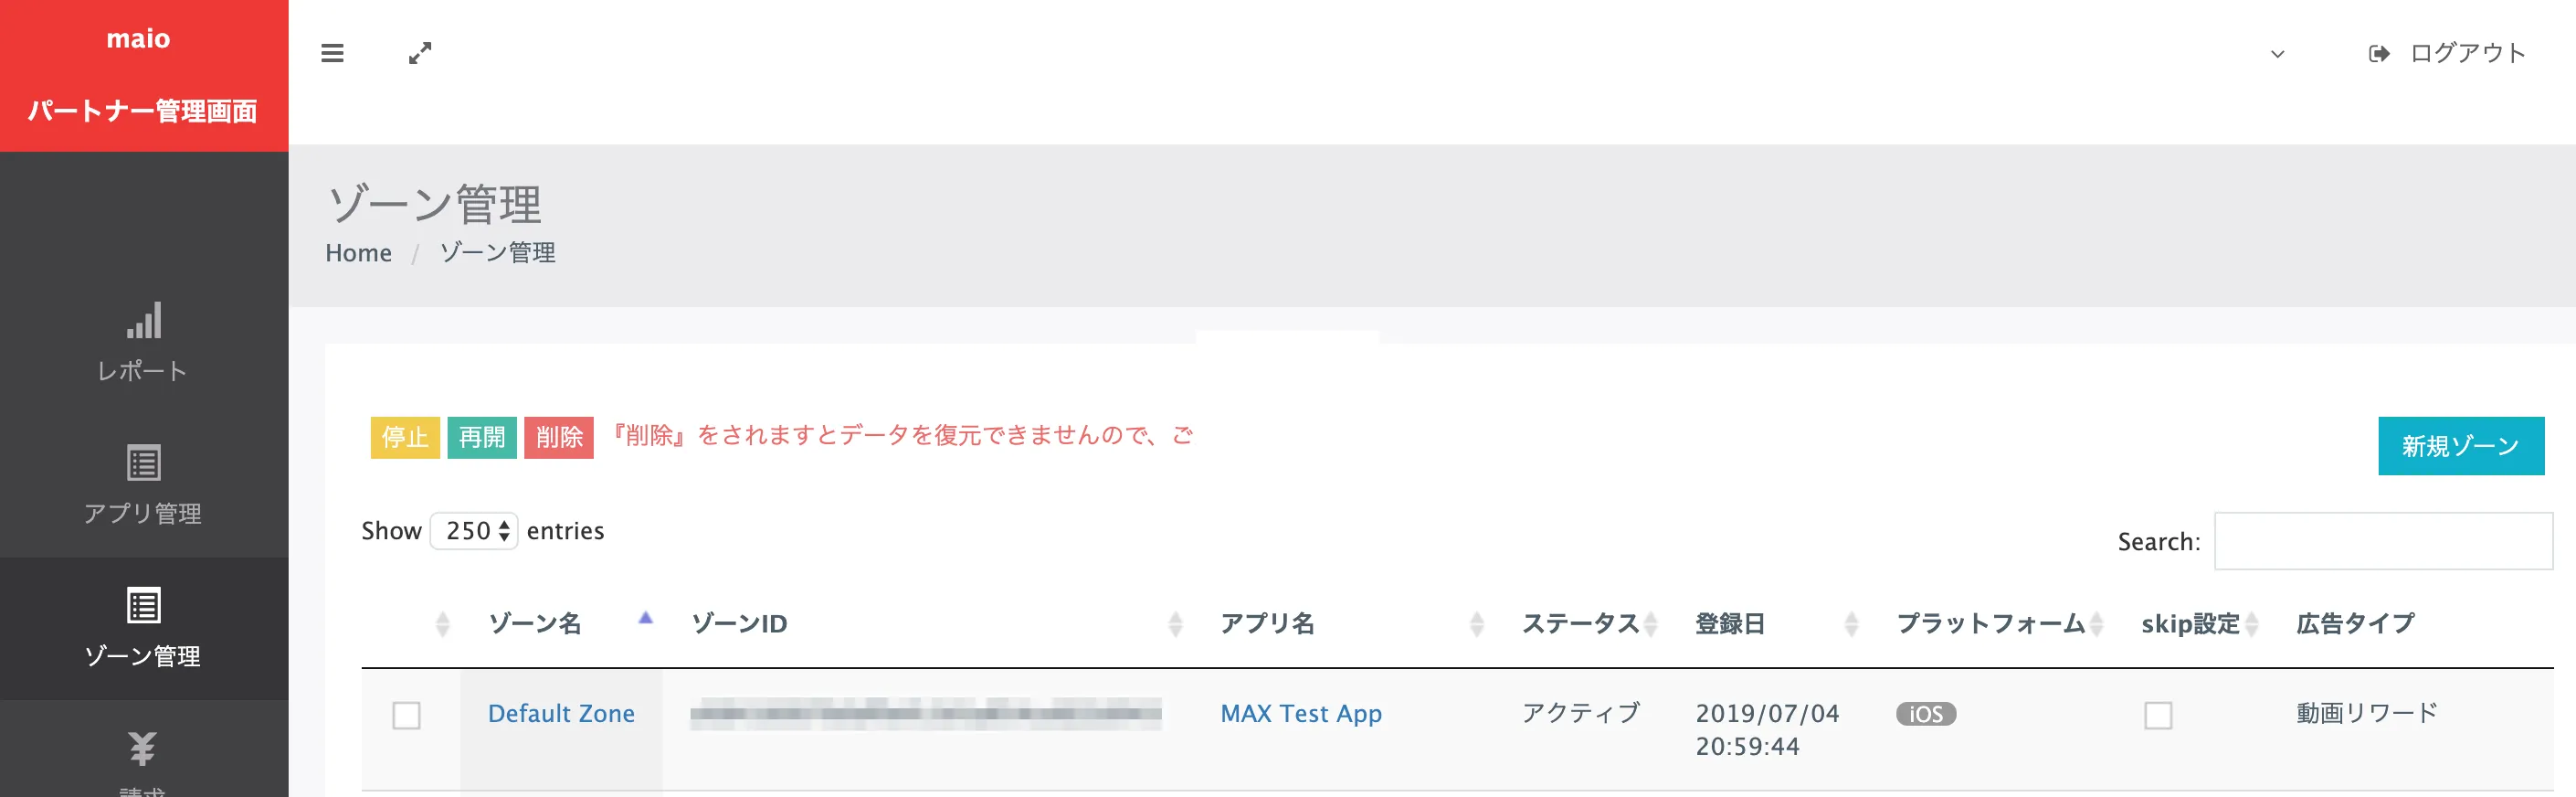
- Select Placements (ゾーン管理).
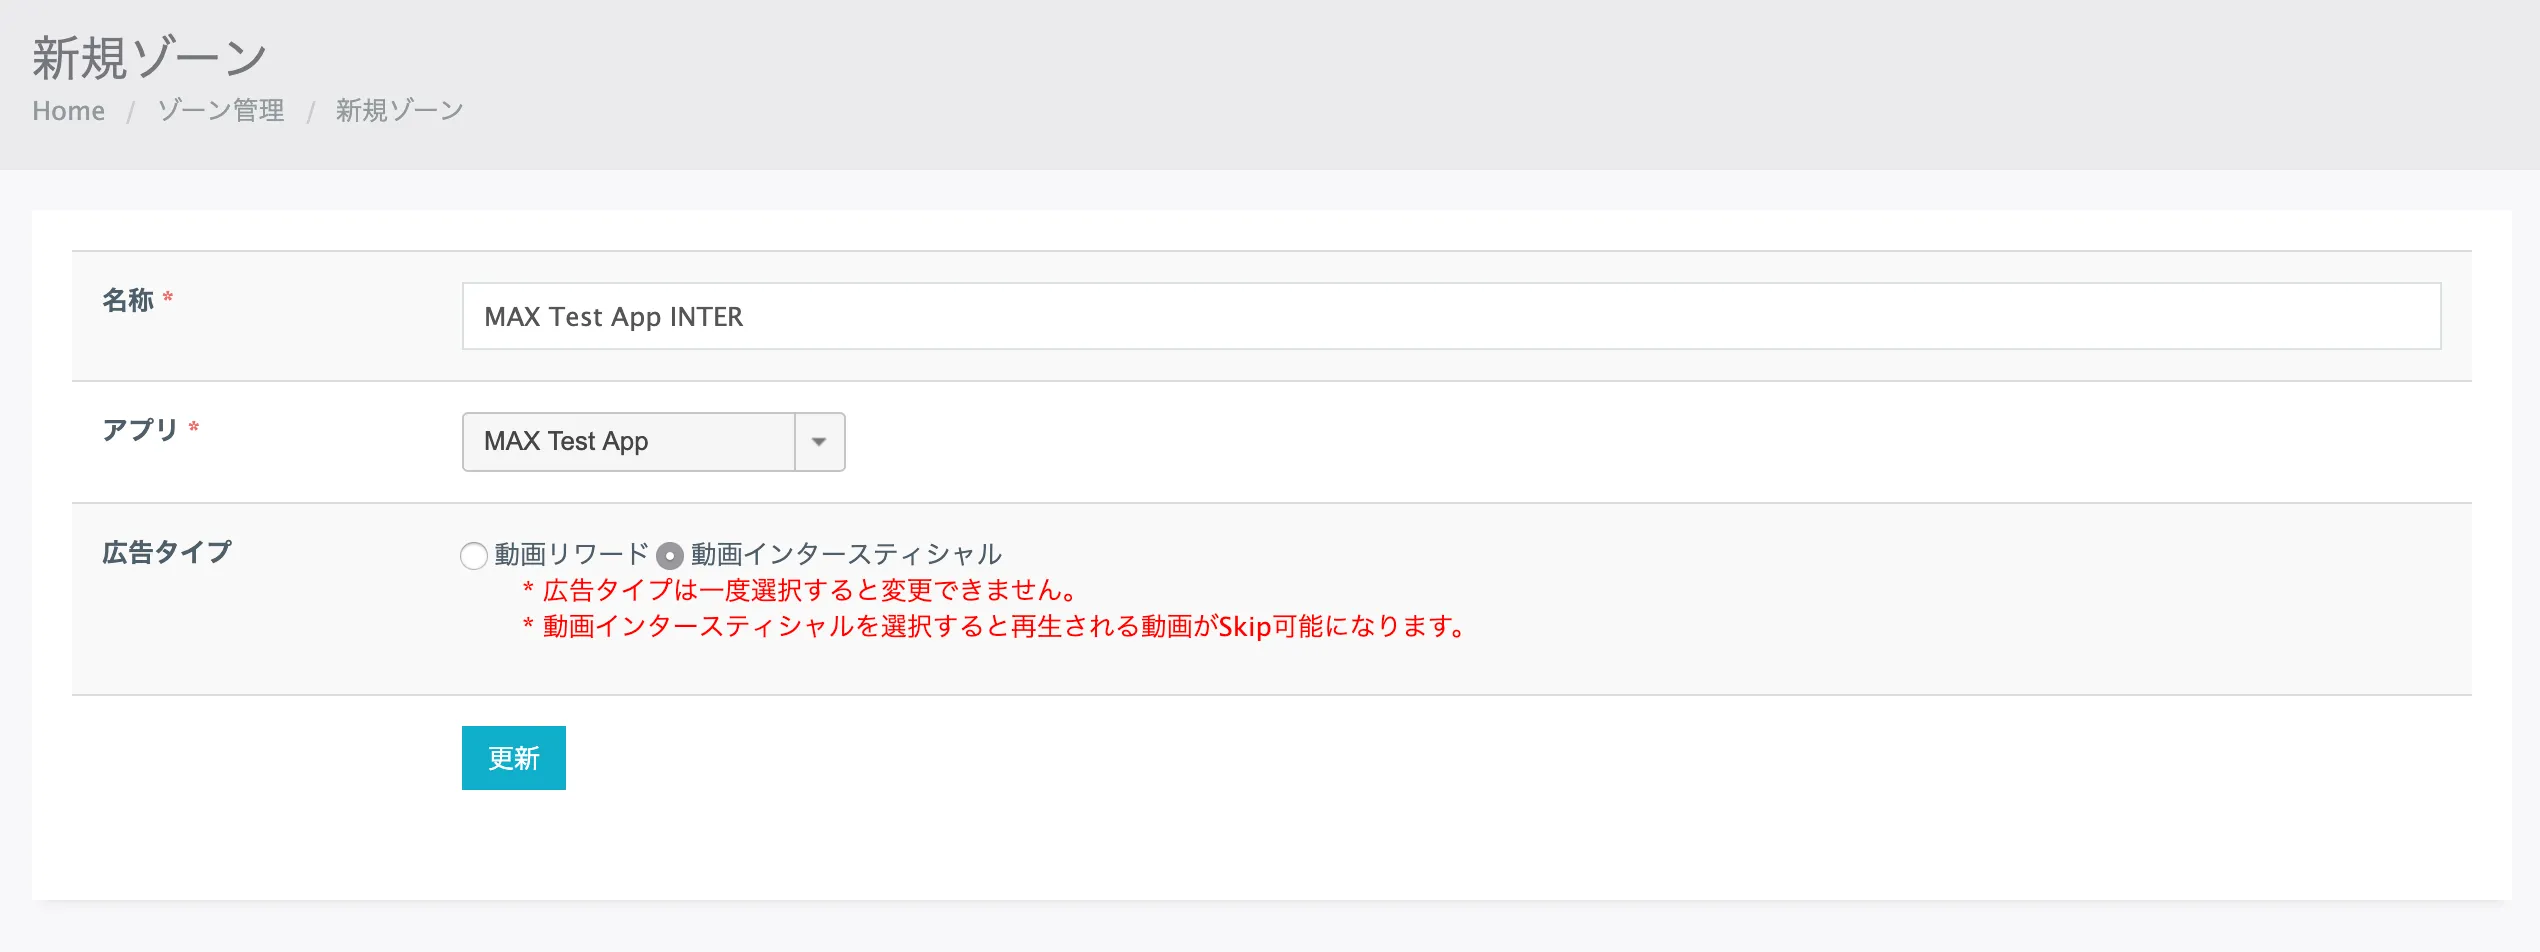
- Click New Placement (新規ゾーン).
- Input the necessary details to create a Maio placement:
- Name (名称): Type a name for the placement.
- App (アプリ): Choose the app for which you want to make the new placement.
- Ad Type (タイプ): Choose Rewarded (動画リワード) or Interstitial (動画インタースティシャル).
- Click Submit (更新) to add your new placement.
Note the Zone ID (ゾーンID) of the placement you added. You need it in Step 3 to enable your new placement on MAX.

If you want to create placements with price floors, contact your Maio account team for instructions.
Step 3. Enable Maio in Your MAX Account
- When you have the Media ID and Zone ID, log in to your MAX account.
- Select MAX > Manage > Ad Units.
- Click the MAX ad unit placement on which you want to enable Maio.
- Type the Media ID and the Zone ID associated with the MAX ad unit you selected.
- Click the Status bar to activate the network.
- Click ✓ Save. This enables Maio in the participating networks list for this ad unit.
Tencent
Step 1. Create a Tencent Ad Network Account
To enable Tencent ad inventory through MAX Mediation platform, you must have an approved monetization account with Tencent. If you do not have an account, sign up at the Tencent site.
If you already have ad units created in your Tencent dashboard, skip to Step 3 and activate Tencent in your MAX ad units.
Step 2. Create an Application and Placements in Tencent
Add Your App
To start monetizing your app with Tencent, create an app in the Tencent dashboard:
-
Log in to the Tencent dashboard.
-
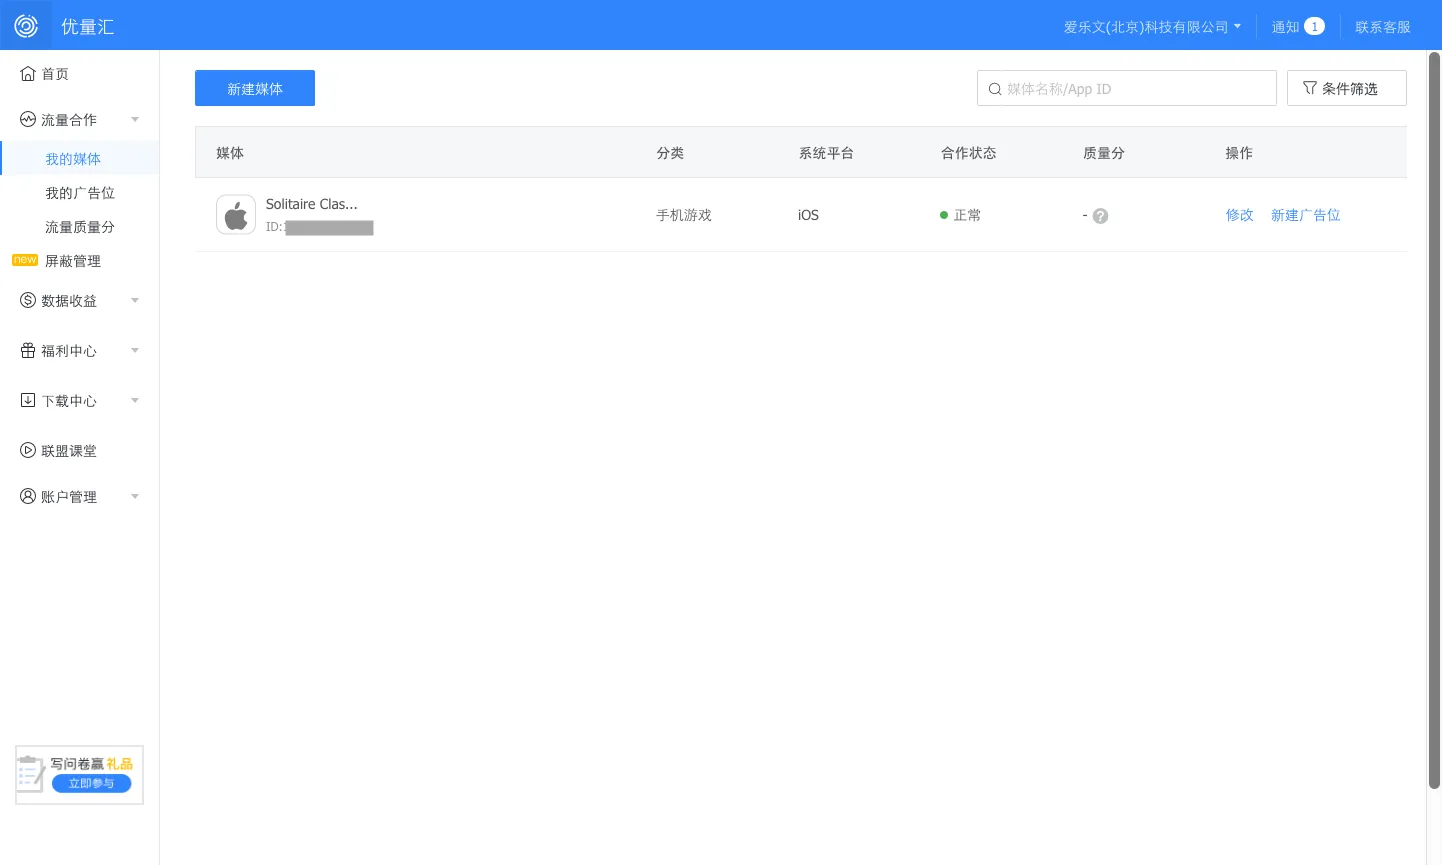
Select Application (流量合作), create an app, and enter the requested information for your application.
-
After you save your app, click Add Placement (新建广告位) under My Placement (我的广告位). Create your Tencent placement IDs for each ad format.
- For Banner and Interstitial, select the 2.0 creative type: Banner 2.0 for Banner, and Interstitial 2.0 (插屏2.0) for interstitial.
- For Rewarded Video, select the regular Rewarded Video (激励视频).

To enable Tencent in MAX Mediation, you need your App ID and the Ad Slot IDs that Tencent associates with the ad units you created. You can find your Ad Slot ID in the Add Placement (我的广告位) section. You can find your App ID in the Application (流量合作) section, listed in the left navigation bar.
Set up your payment details in the Payment Information section. You must set up your payment details in order to receive fill from Tencent.
Step 3. Enable Tencent in Your MAX Account
- When you complete your Tencent setup, log in to your MAX account.
- Select MAX > Manage > Ad Units.
- Click the MAX ad unit placement on which you want to enable Tencent.
- Type the Tencent App ID and the Ad Slot ID values associated with the MAX ad unit you selected.
- Click the Status bar to activate the network.
- Click ✓ Save. This enables Tencent in the participating networks list for this ad unit.
Yandex
Step 1. Create a Yandex Account
To enable Yandex ad inventory through MAX Mediation platform, you must have a valid account with Yandex. If you do not have an account, sign up at the Yandex site.
If you already have an Yandex account, skip to Step 3 and activate Yandex in your MAX ad units. AppLovin recommends that you create new placement IDs. This improves the accuracy of what MAX reports.
Step 2. Create an Application and Placements in Yandex
Add Your App
If you have already created an app, skip to the “Add a New Placement” section and create a Block ID.
-
Log in to Yandex.
-
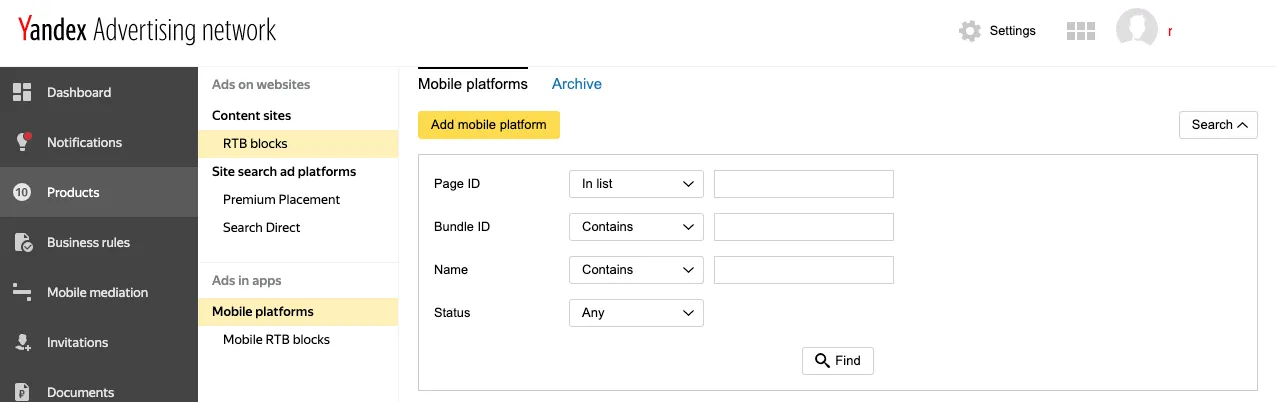
Select Products > Mobile platforms from the menu on the left side.
-
Click Add mobile platform.
-
Fill in your app settings:
- Application: Choose Add app.
- Platform: Choose iOS or Android.
- Bundle ID: Type your Bundle ID (iOS) or package name (Android).
- Link to app in store: Type the URL of the store page of your app.
- Name: Type a name for your app.
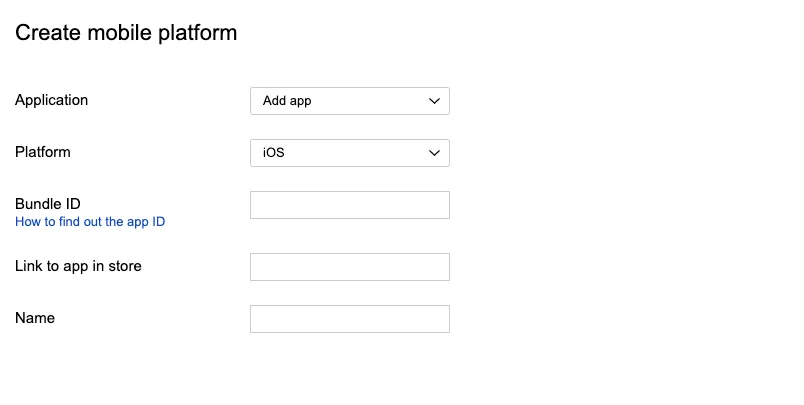
-
Click Create.

Add a New Placement
After you create your app, you can create new placements:
- Select Products > Mobile RTB blocks from the menu on the left side of the page.
- Click Add mobile RTB block.

- Fill in the necessary details to create a Yandex placement:
- Platform: Select your app for which you want to create a placement.
- Name: Type a name for your new placement and select c.
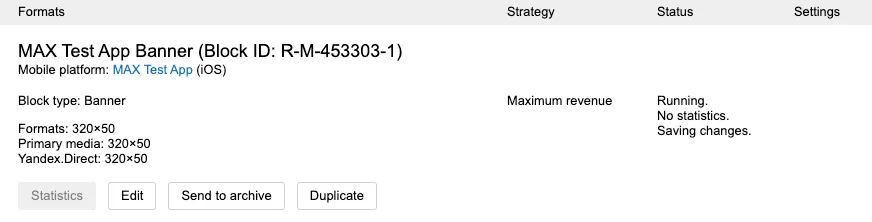
- Block Type: Choose the type of the ad you want to make, then click Next.
- Formats: For Banner, choose 320×50, as in the screenshot below, then click Next.
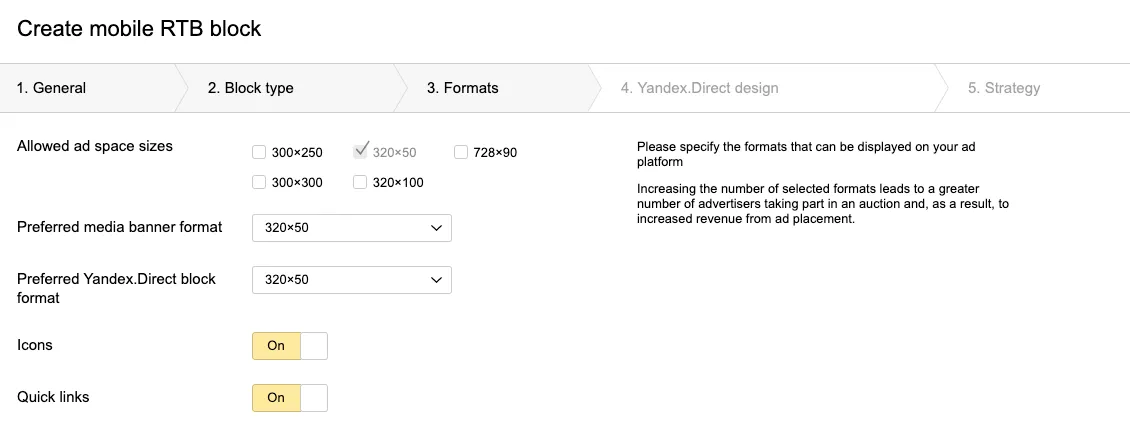
- Yandex.Direct design: Click Next.
- Strategy: Select the bid strategy you want to use for the placement.
- Click Create.
Note the Block ID of your new placement. You need it in Step 3 to enable this placement on MAX.
Step 3. Enable Yandex in Your MAX Account
- When you have the Block ID you need, log in to your MAX account.
- Select MAX > Manage > Ad Units.
- Click the MAX ad unit placement on which you want to enable Yandex.
- Type the Block ID associated with the MAX ad unit you selected.
- Click the Status bar to activate the network.
- Click ✓ Save. This enables Yandex in the participating networks list for this ad unit.